My Invisalign Review at Aquae Sulis Dental with Dr. Rachael Hampton
I have finally started my teeth straightening journey! I have spoken about it a few times over the last few months, and have wanted straight teeth since I was a teenager. I actually went to an orthodontist when I was about 13, but they wanted to remove two teeth, and I’d have been wearing the train track metal braces for at least two years. I decided not to go ahead with that as I didn’t want two healthy teeth pulled out. As I’ve gotten older though, I found my teeth were getting more crowded and I found out that’s because they continue to move over time, so it was time to finally get them straightened!
I did a lot of research on Invisalign, I watched a tonne of YouTube videos, I googled everything I could. I made sure that I found the best place that I could, and that happened to be Dr. Rachael Hampton, at Aquae Sulis Dental, who in my opinion, is the best Invisalign orthodontist in Bath! I looked up her before and after photos on Instagram (click here to see those) and was beyond impressed with her work. I wanted a dentist that took their job as a passion, and creates art, and that’s what Rachael does, in order to get the most perfect teeth! Rachael was perfectly suited to me as she believes in promoting dentistry that adds to the teeth, and doesn’t take healthy tooth away, like veneers and crowns do. After researching her work and seeing how good she is with aligning, I also found out that she does teeth whitening and bonding. I’m definitely going to need bonding after my teeth are straight as they aren’t all going to be the same length, and her bonding work is incredible!
Rachael works at Aquae Sulis Dental here in Bath, and also in London, but finding a dentist I was comfortable with was really scary. I’m not ashamed to admit that I have been terrified of the dentist since I was a child. I have had some traumatic experiences and I’d avoid the dentist as all costs. Before making an Invisalign consultation there, I hadn’t been to the dentist in probably six years. I’ve always tried to keep my teeth as healthy as possible, and luckily, other than needing a tiny preventative filling, my gums and teeth are all healthy and in great condition. After looking up what Aquae Sulis looked like and reading some reviews, I felt sure that this was the dentist for me. I was right too, because when I got there, it doesn’t smell anything like a dentist, and it doesn’t look or have a feel like a dentist either. It’s a beautiful private practice that’s decorated lovely, and the staff are beyond friendly and wonderful. Any fear that I had when walking in was alleviated after being in their atmosphere and feeling comfortable. So honestly, if you’re afraid of the dentist like I am, I cannot recommend Aquae Sulis Dental in Bath enough to you. I’ve already been there three times, and I’m feeling confident, even after having the small filling, a scale and polish with the Cavitron, and a check up. I couldn’t have been treated nicer and I was made to feel really at ease and brave. Which, for someone in a heightened mode of anxiety and panic, with a huge fear of needles, is an important factor. Michelle, the practice manager, messages you back really quickly via email too, which is perfect for me!
The Invisalign Process
My very first appointment was a free consultation with Rachael and that was to discuss Invisalign and figure out if I would be a good candidate for it. It involved her taking a 3D scan of my teeth, which was interesting! It doesn’t hurt at all as it’s a plastic wand that takes 3D imagery of your mouth and uploads it to the computer, so you can see your teeth exactly on the screen. This then gets sent off to Invisalign to make 3D printed aligners. We discussed what I wanted to achieve and what would need to happen during the process and it all seemed good. I was excited and happy, and couldn’t wait for the process to start! Before any of this could go ahead though, I needed to have X-Rays to check my wisdom teeth as they’re partially erupted, I needed to have a scale and polish to make sure my teeth were super clean, and a check up, as well as a little filling to prevent a cavity from taking place. This was important because if you have to have work done during your Invisalign journey, you have to have new scans taken and new aligners made because they have to fit absolutely perfectly to your teeth. After everything was complete, a mould was taken of my teeth which I had to bite down into, and then everything was sent off to Invisalign, and the wait took place.
Getting The Invisalign Put On
So at the fit appointment, it was fairly straight forward and took less than an hour! My aligners came in from the United States, so they took a few weeks to arrive, and I was very eager to start the process. When I was there, I had to have little tooth coloured enamel attachments put on some of my teeth to help move them under the aligners, but you can’t really see them. I was wondering how they would be put on, and it was so straight forward! Your teeth are cleaned with a solution, and then glue is applied to your teeth in the areas the attachments will be, and then the little attachments are put into an aligner which fits on your teeth, and a UV light is used to harden the glue. None of this is painful at all, it’s just a little uncomfortable having your mouth open all that time, so be sure to wear a lip balm, especially on the corners of your mouth. Once the glue is hardened, the aligner is taken out, and then you get your proper Invisalign aligner put on your teeth right then! So it wasn’t difficult at all. If any of you are wondering about the smell of the glue, it’s very, very faint, I could only smell it lightly and I’m sensitive to smells. I also had to have some filing done in between some teeth. This is like a coarse piece of floss that slots between your teeth and shaves them down a little bit, to make room for movement. This was probably the most uncomfortable it got, but it wasn’t painful, and I have sensitive teeth.
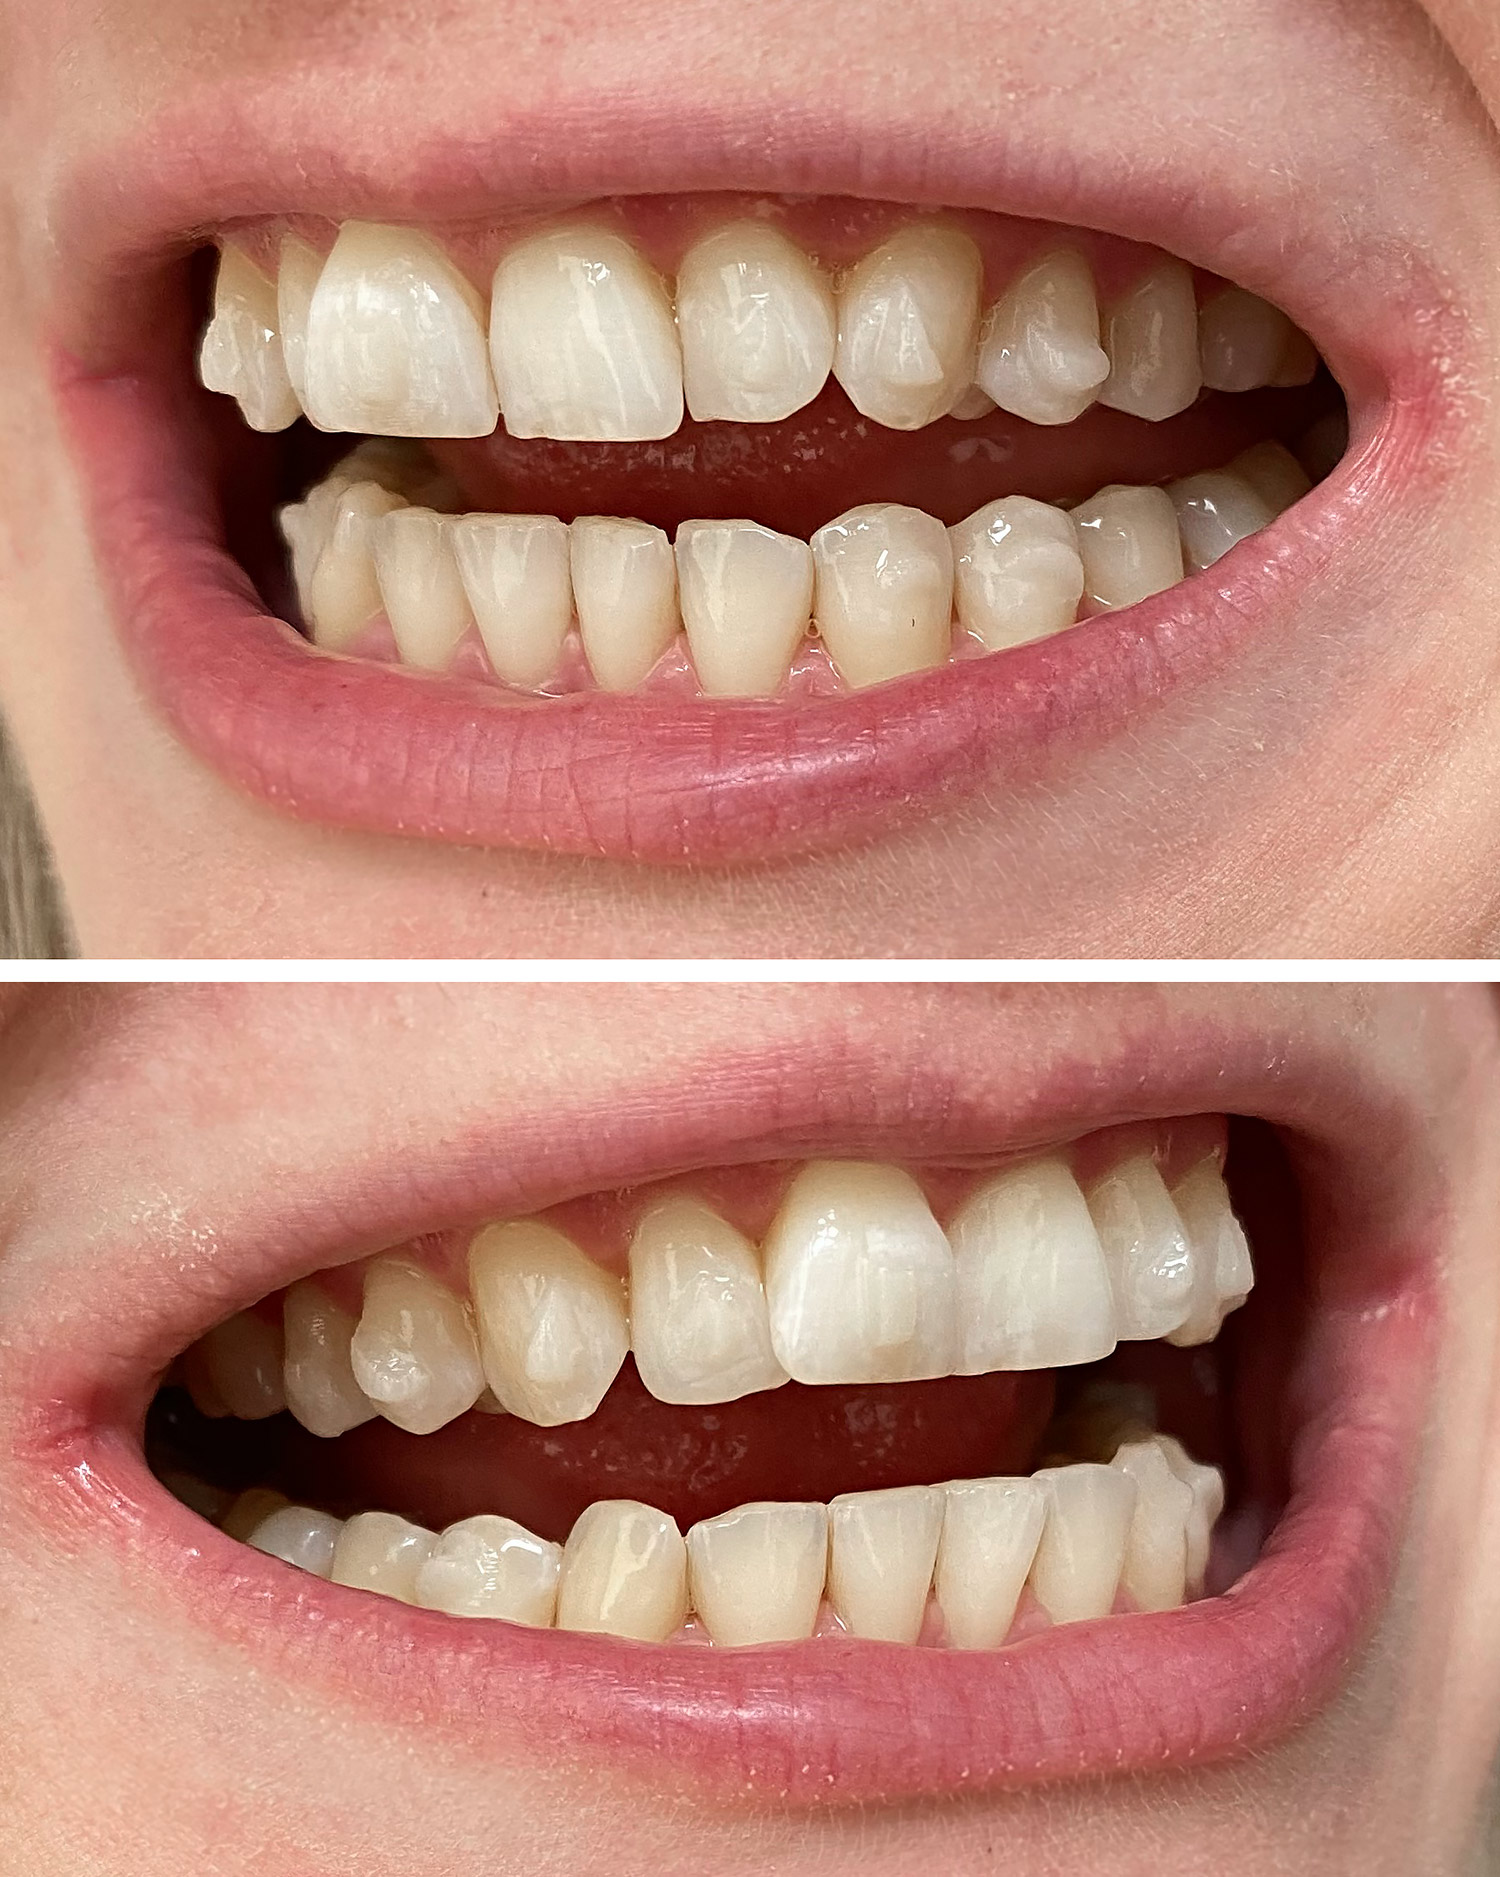
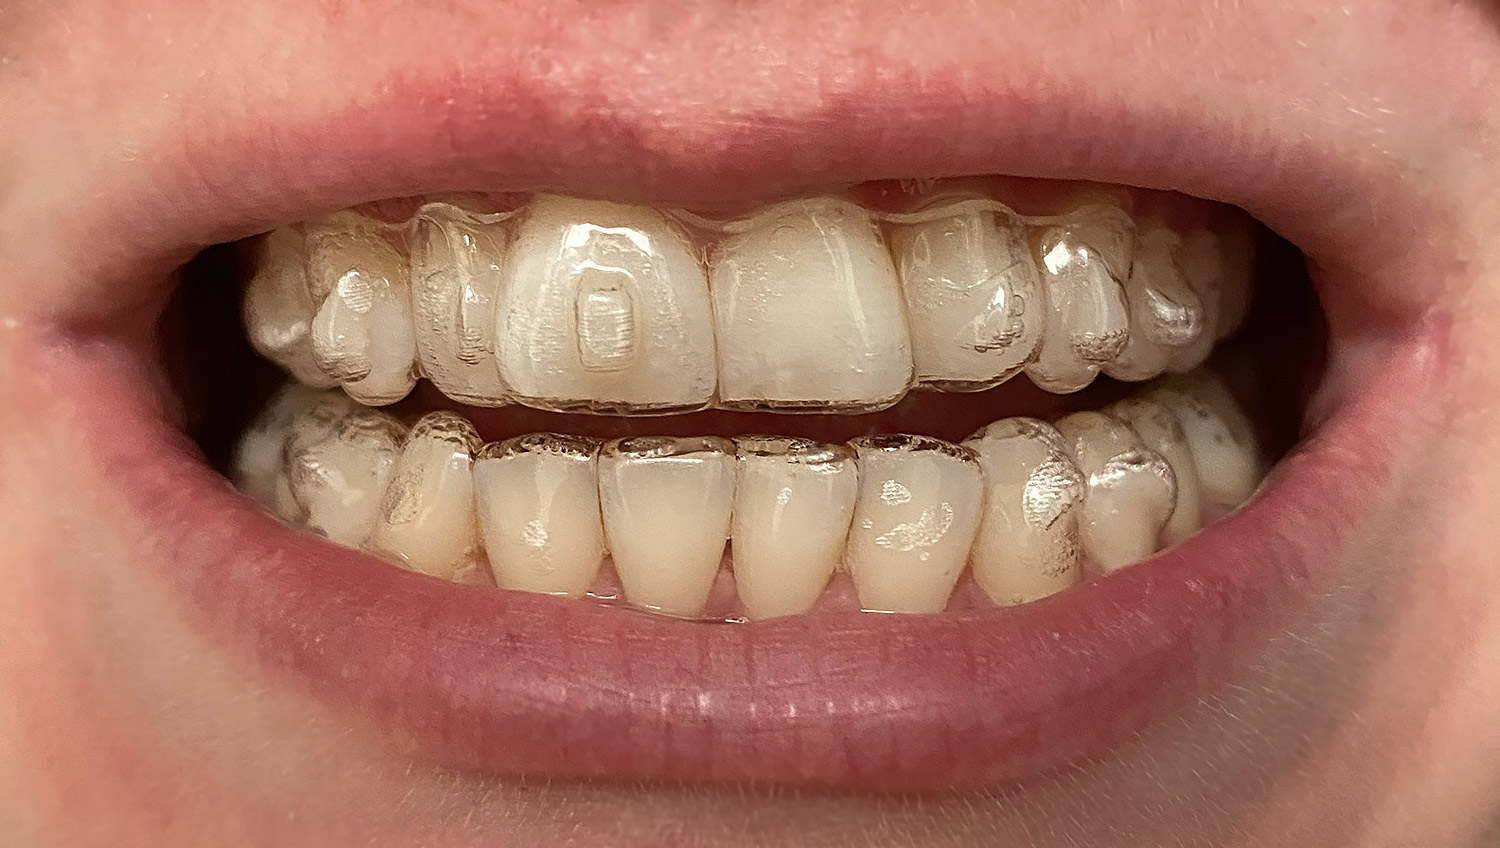
Above you can see my teeth with the attachments on them. They aren’t really that visible unless you’re in a harsher lightening, as Rachael made sure to match them exactly to my tooth colour, which I was grateful for. She also made sure not to put any on the front of my bottom teeth as they show the most when I talk, so that’s great! I will say that they feel horrible when the aligners aren’t on though, they really feel like you have chunks of food stuck to your teeth and you want to pick them off. They’re also quite rough, so it’s more comfortable when the Invisalign are covering them, that’s for sure! I have about 15 in total: 13 on the front of my teeth, and 2 on the back. It’s important to have healthy gums that aren’t inflamed as well with Invisalign as it means your teeth are going to move easily without any problems.
How To Wear And Use Invisalign
Wearing Invisalign is really easy, they just snap onto your teeth and that’s that. You have to keep them in for 22 hours a day, and you have to remove them when you eat, and when you drink certain drinks. I will give more details below on each point, but you can wear them as normal and play sports etc. too! There’s no hindrance in terms of them impacting your day to day life.
Removing them to eat – You cannot eat anything with your Invisalign in. You have to remove them to consume any foods, and if you’re drinking something that contains sugar, you have to remove them too. I pretty much only drink water, so it’s no problem there, but you can also have tea and coffee, if it’s not too hot, as you don’t want to melt the plastic. It’s important never to eat with them in as the food will get stuck inside and cause all sorts of messy issues. You take them out by using your finger on the back inside of the aligner to hook it off, both sides, and then pop it out.
Cleaning your teeth and aligners – Once you have finished eating, you have to floss your teeth, to remove any remaining food from between the teeth as your teeth wont be able to shift if there’s food stuck between them, and then clean your teeth too, to make sure there’s no bacteria or plaque going to build up inside, which can discolour and damage your teeth. Then I clean the aligners with my special toothbrush (and normal toothpaste) to keep them smelling good and fresh.
Change aligners every week – So you might be wondering how long I’m going to be wearing Invisalign for, and that’s 33 weeks. That’s how many aligners are in my plan, and my teeth should be straight by then. I change to a brand new aligner every Friday. I have a lot of them with me here, up until mid June, as you get given a bunch in advance so you don’t have to go back too often to get new ones.
Keeping them in for 22 hours a day – As I mentioned, they need to be worn for 22 hours a day. That gives you 2 hours to consume your food. What I’ve started doing is setting a stop watch as soon as they’re out (on my phone) and stopping it when they’re back in. Then I can calculate how long they’re out for during the day. This means you do sleep in them, and it’s important to keep them in as much as possible so that your teeth don’t start shifting back. I was worried that I wouldn’t be able to sleep with them, but it’s no problem at all, you don’t really notice that they’re there.
Is It Painful Or Uncomfortable?
It’s not painful, so far, but it has been a little uncomfortable. As you can imagine, it feels like a lot of pressure on your teeth, because that’s exactly what it is. Pressure to shift their position. If you can imagine what a piece of apple peel stuck between your teeth feels like, it’s like that, all over, but it’s not very painful. I haven’t experienced any headaches (and I usually suffer from them) or too much aching at all, so I’ve been completely fine, however there has been some soreness. Because the aligners are plastic, they can rub a little bit on the inside of your mouth and tongue. I’ve got some soreness underneath my tongue from talking, and a few sore patches on my cheeks. I’m getting used to this though and they’re healing up. I did also get a lisp, which I’m told goes away within a week or two! Mine is already starting to go away, it’s just getting your mouth adjusted to talking with something in it. Other than that, everything has been good. I’m told that some aligners can be more painful than others, so I will see what it feels like on Friday when I change to a new one, and keep you updated via Instagram. My mouth has been a little more dry at night than normal, and I have had some increased salivation to start with, but it’s settling down. Another little tip that Rachael told me, and some other bloggers mentioned on YouTube, is that you need to be careful with lipstick as you can stain your aligners!
What Do You Get With Invisalign?
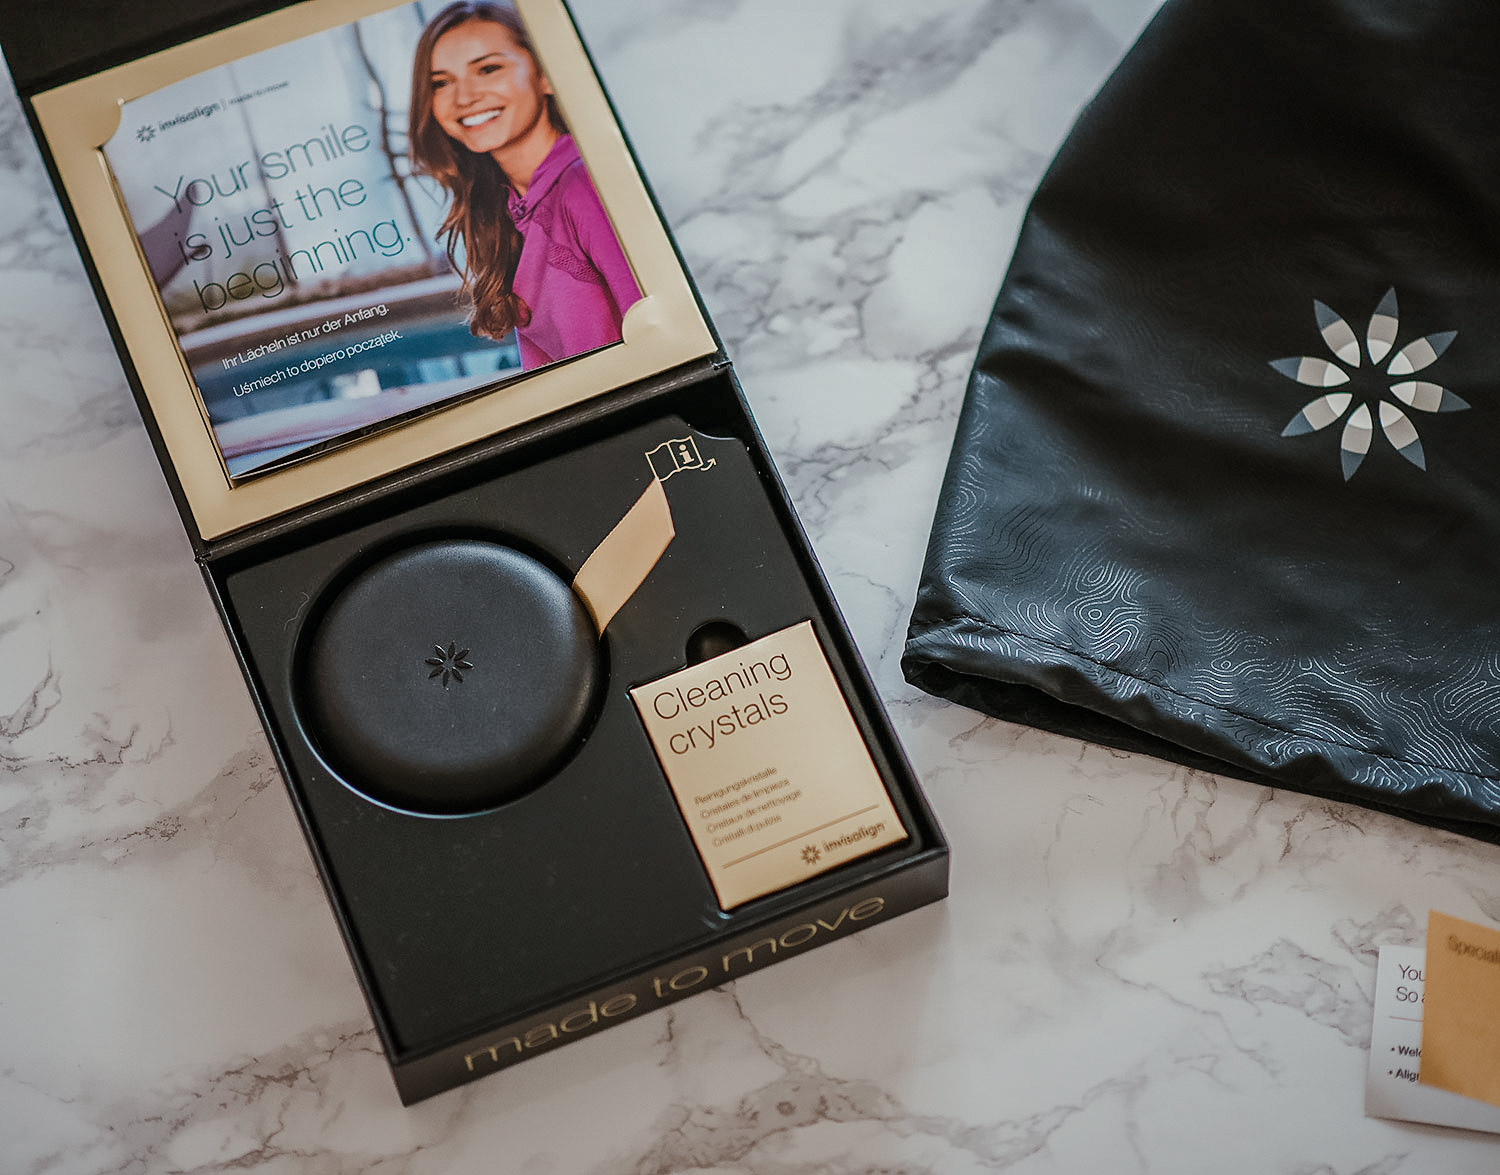
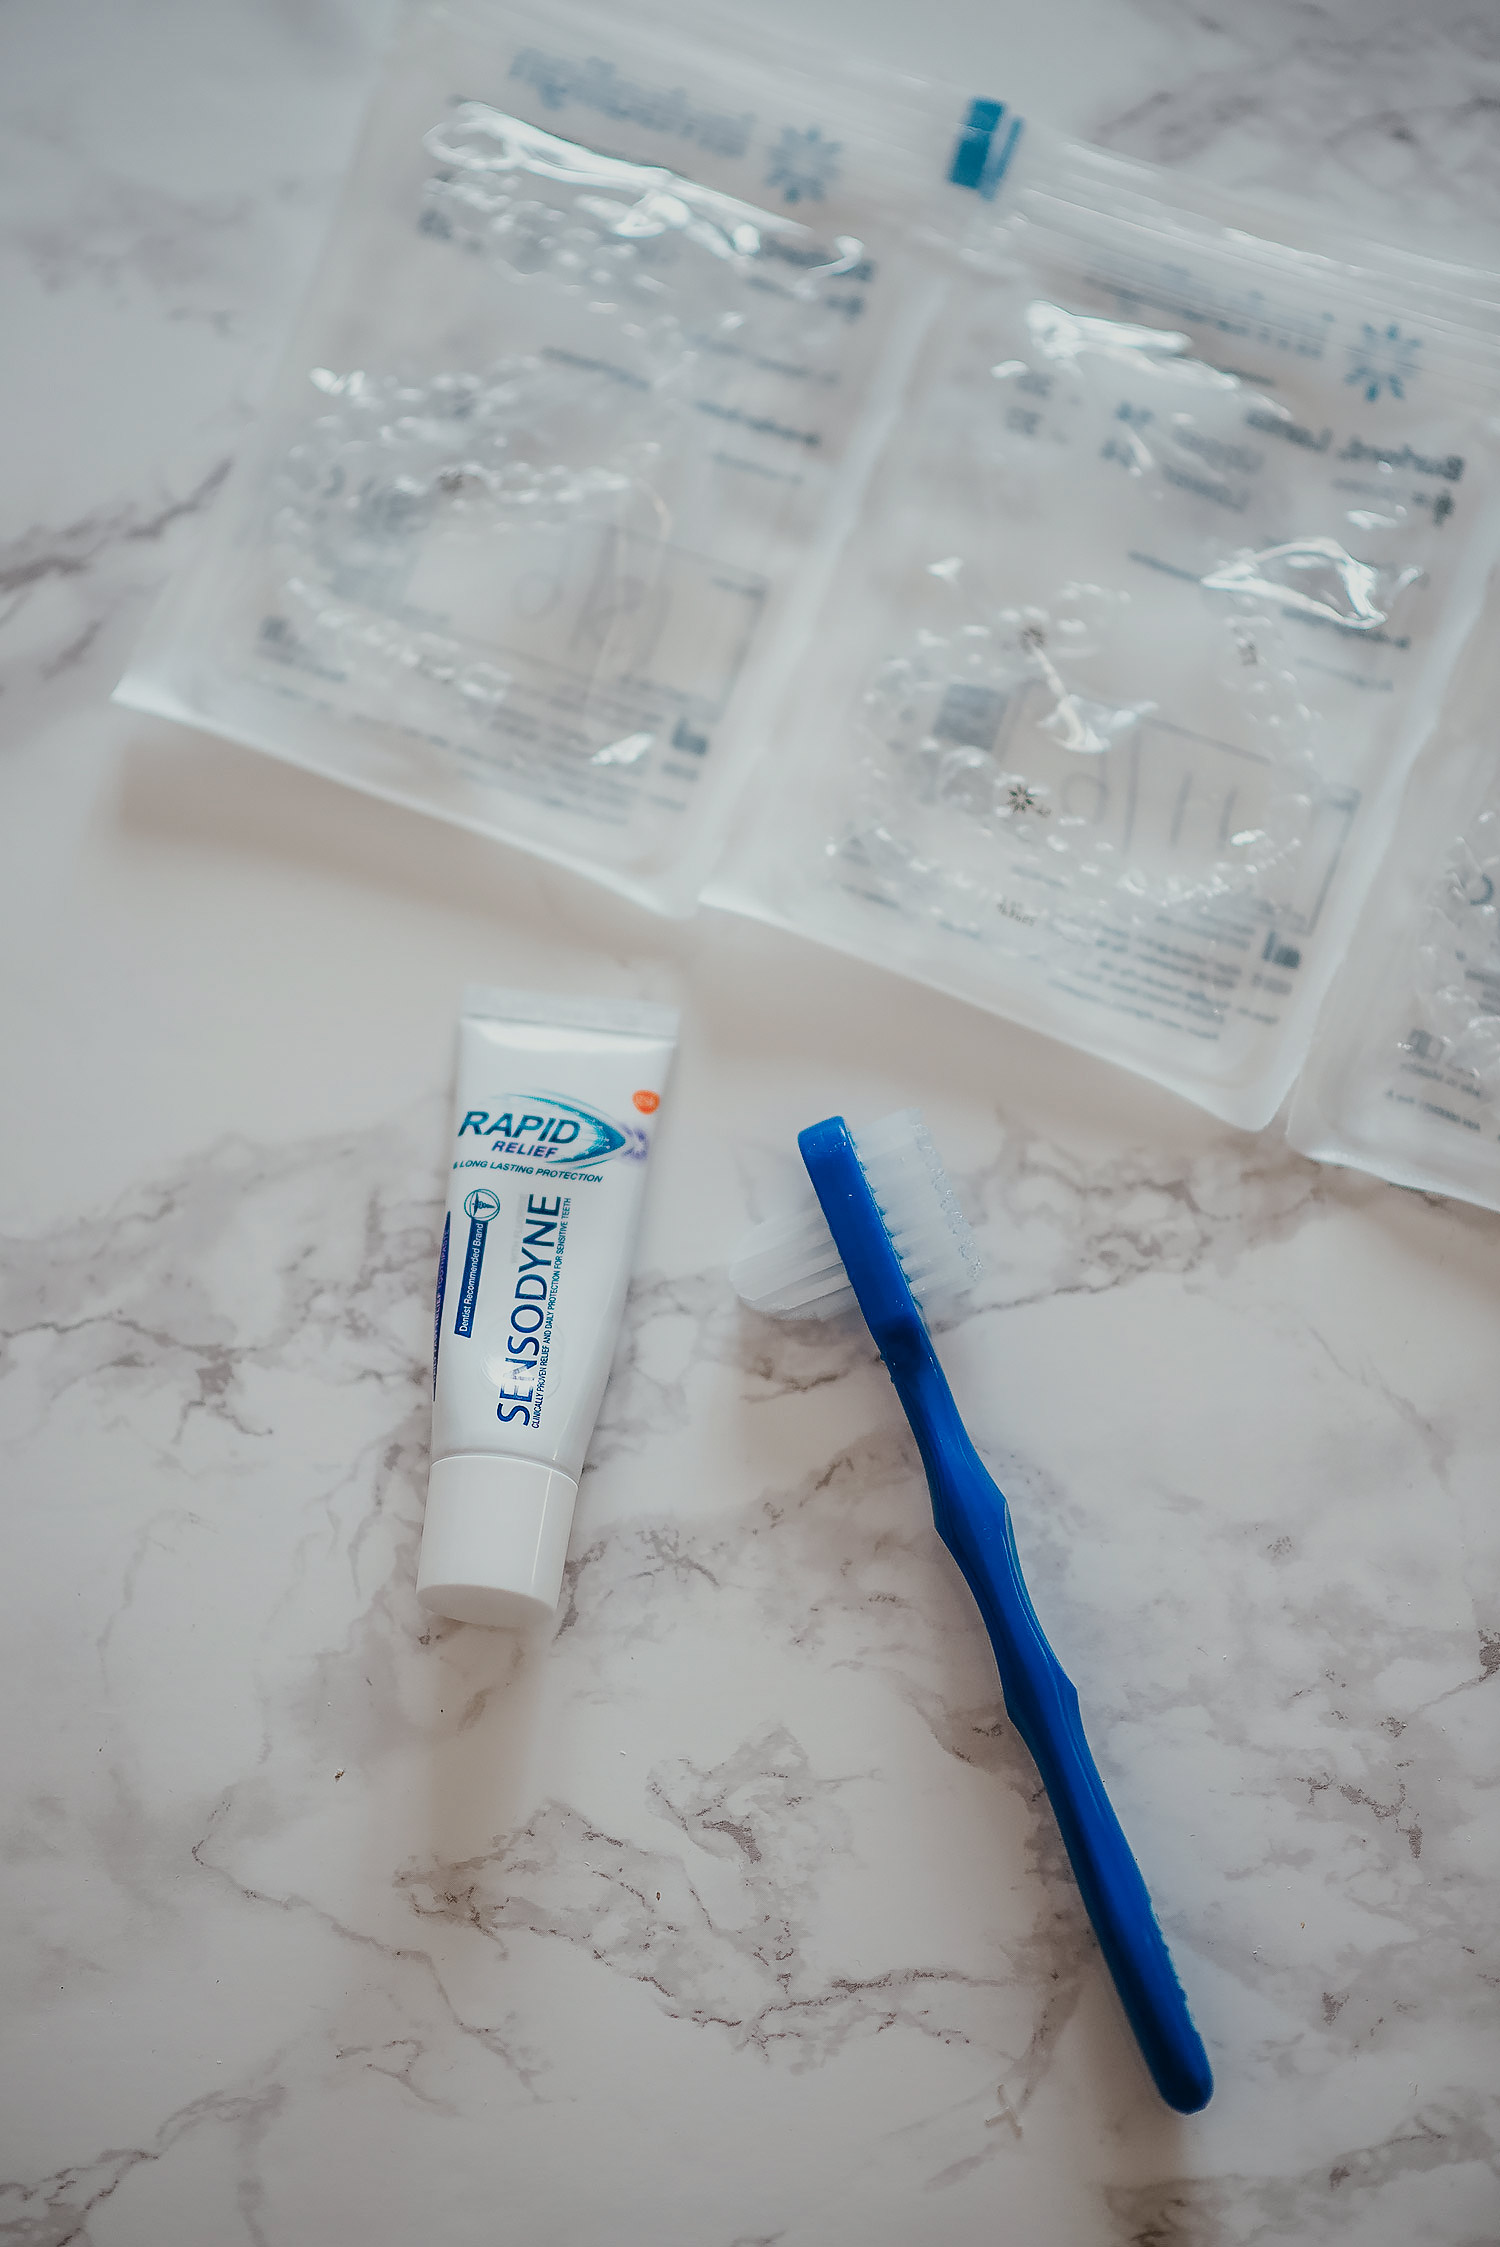
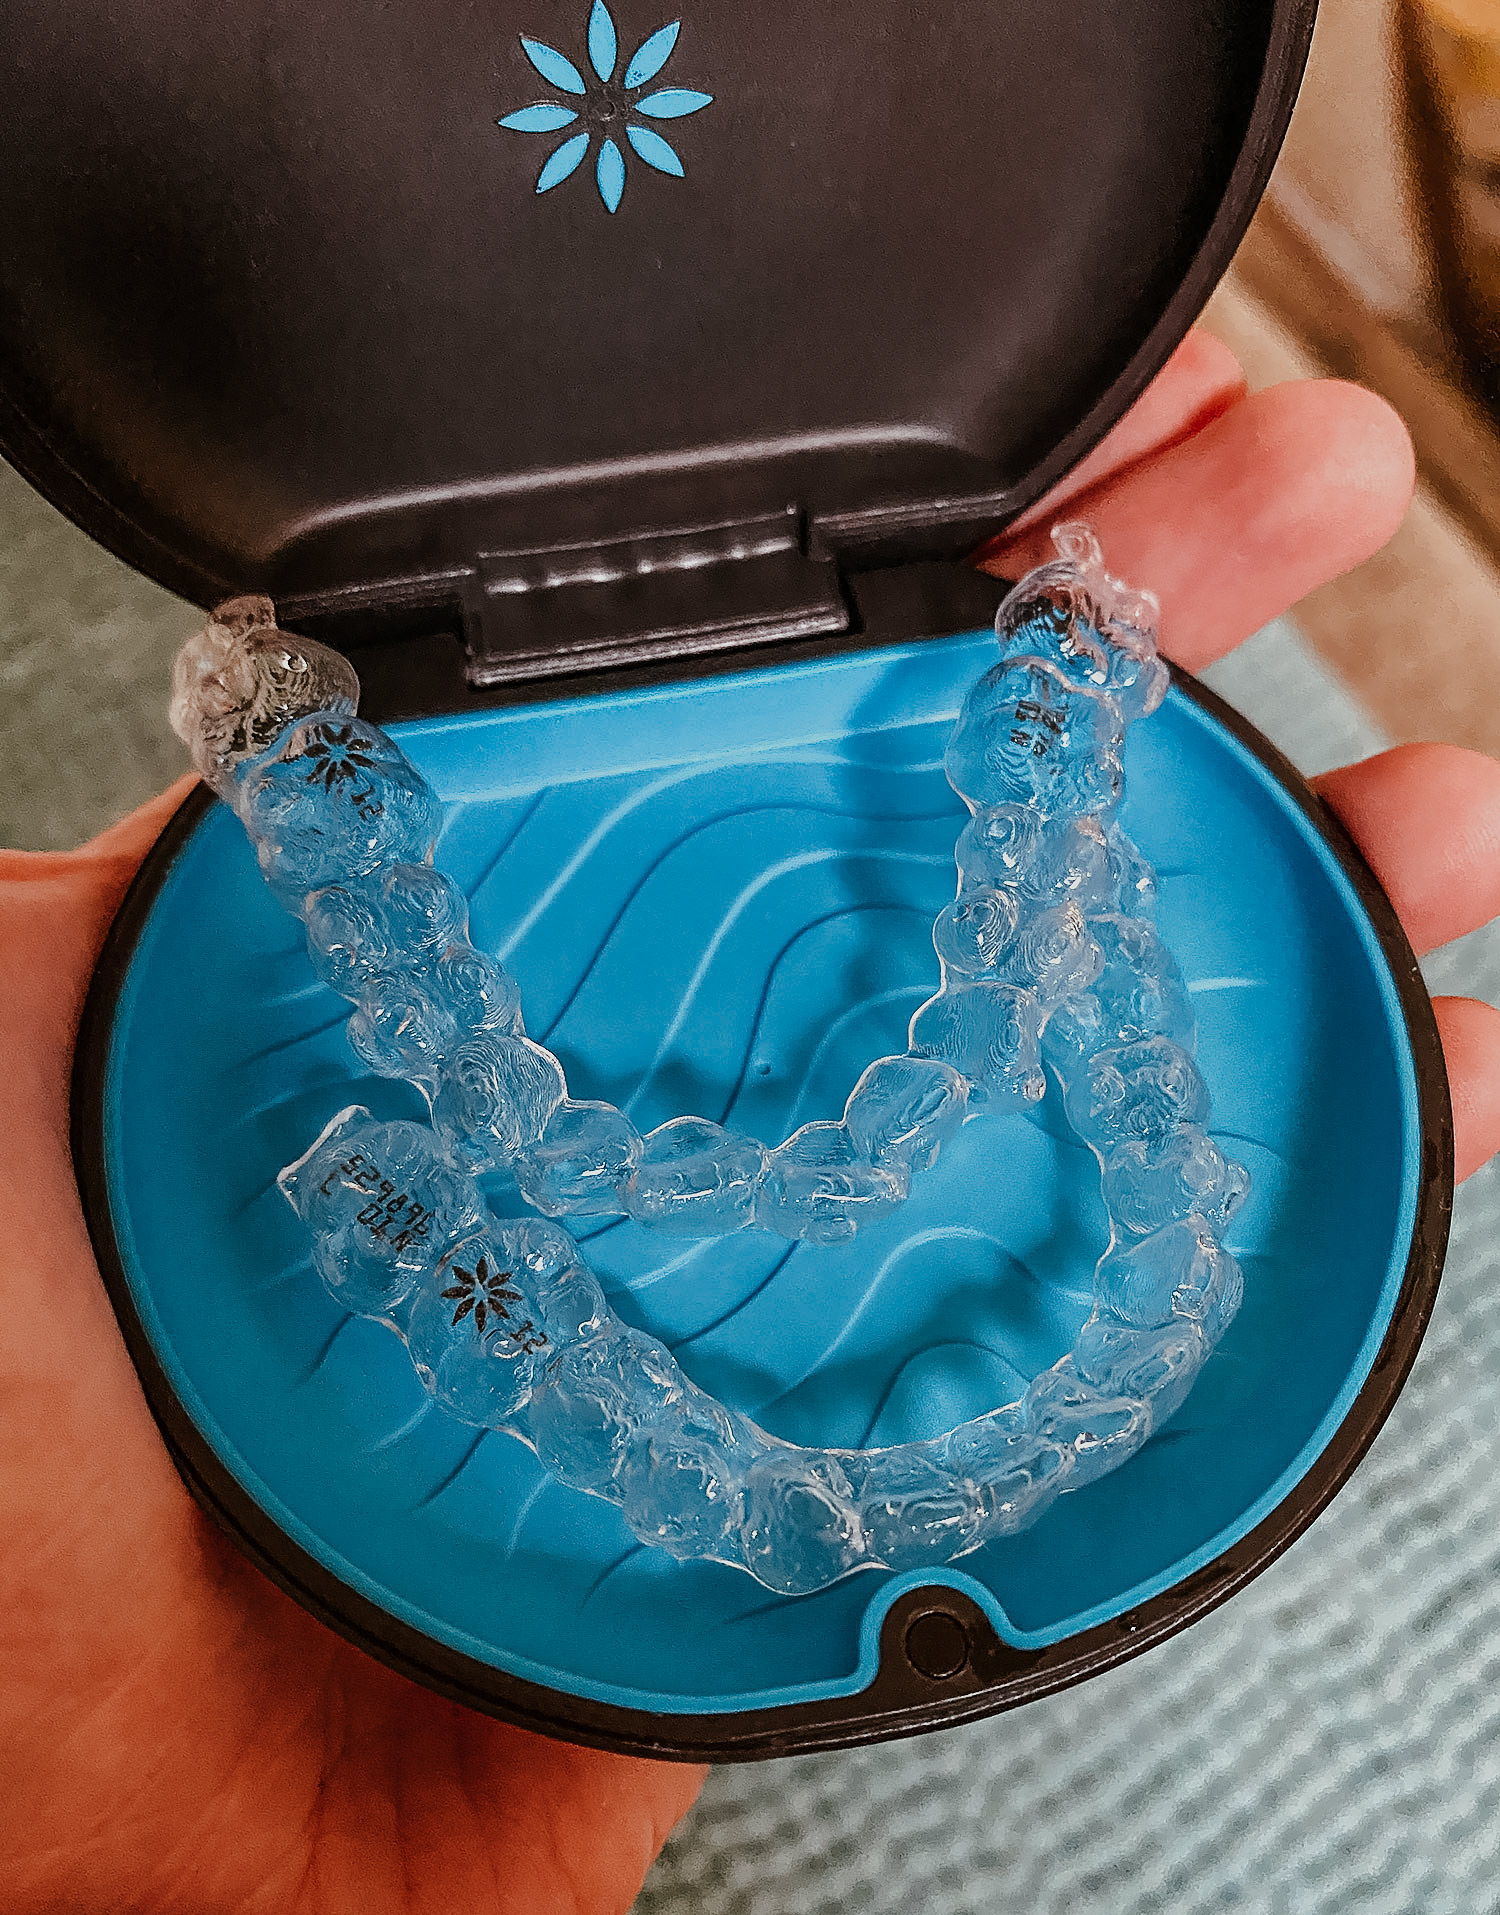
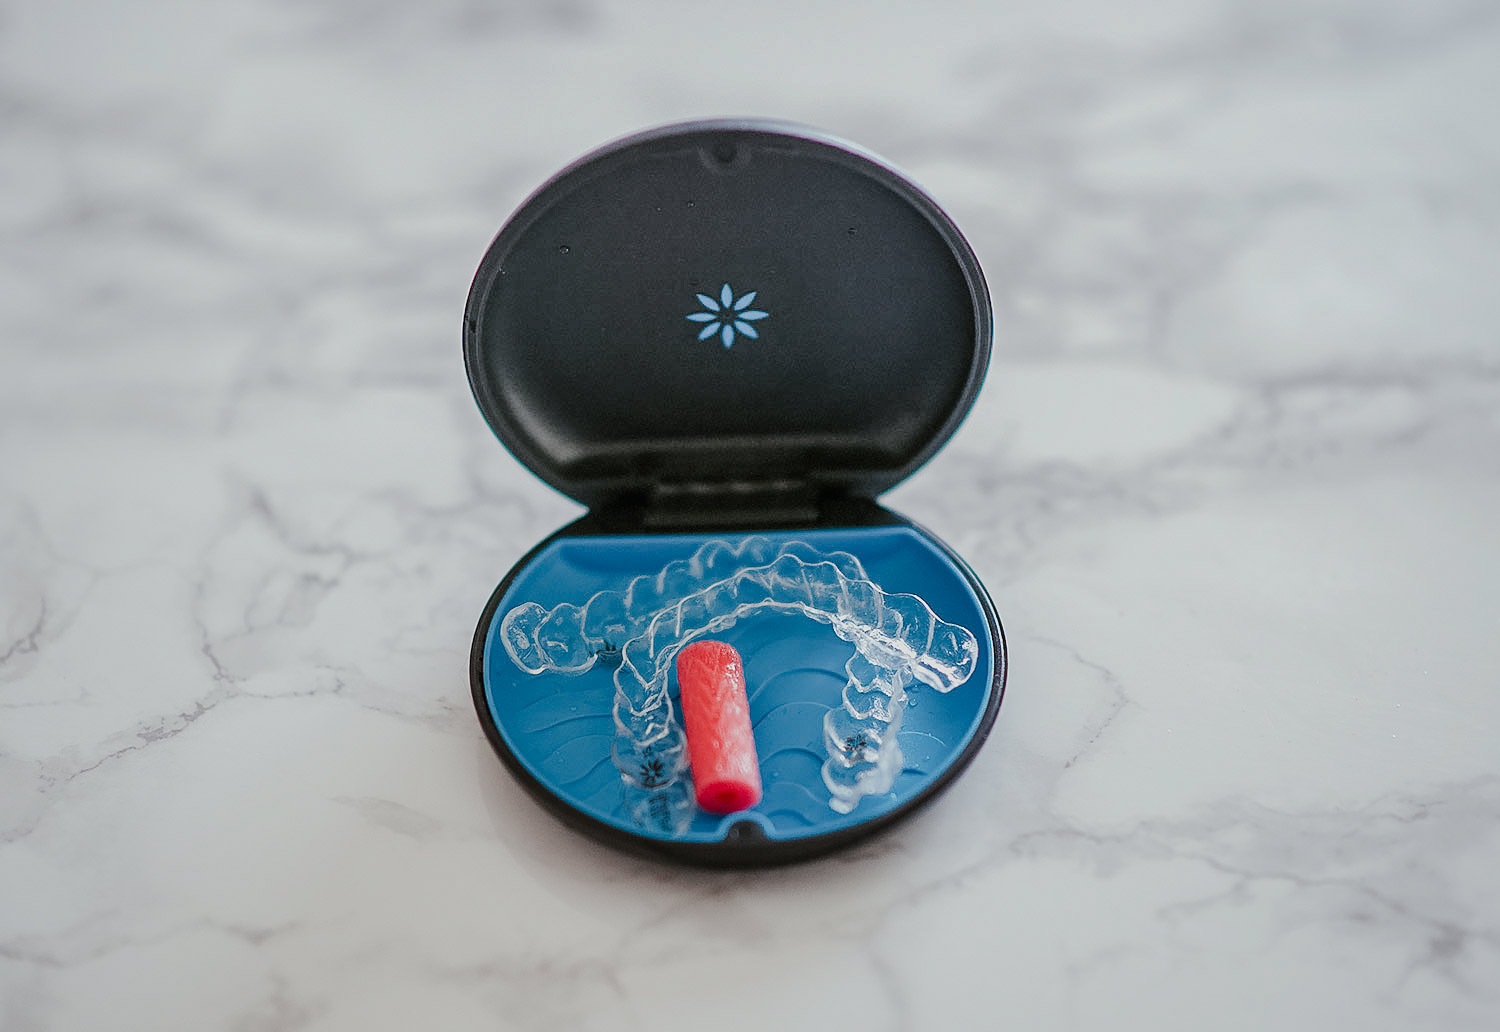
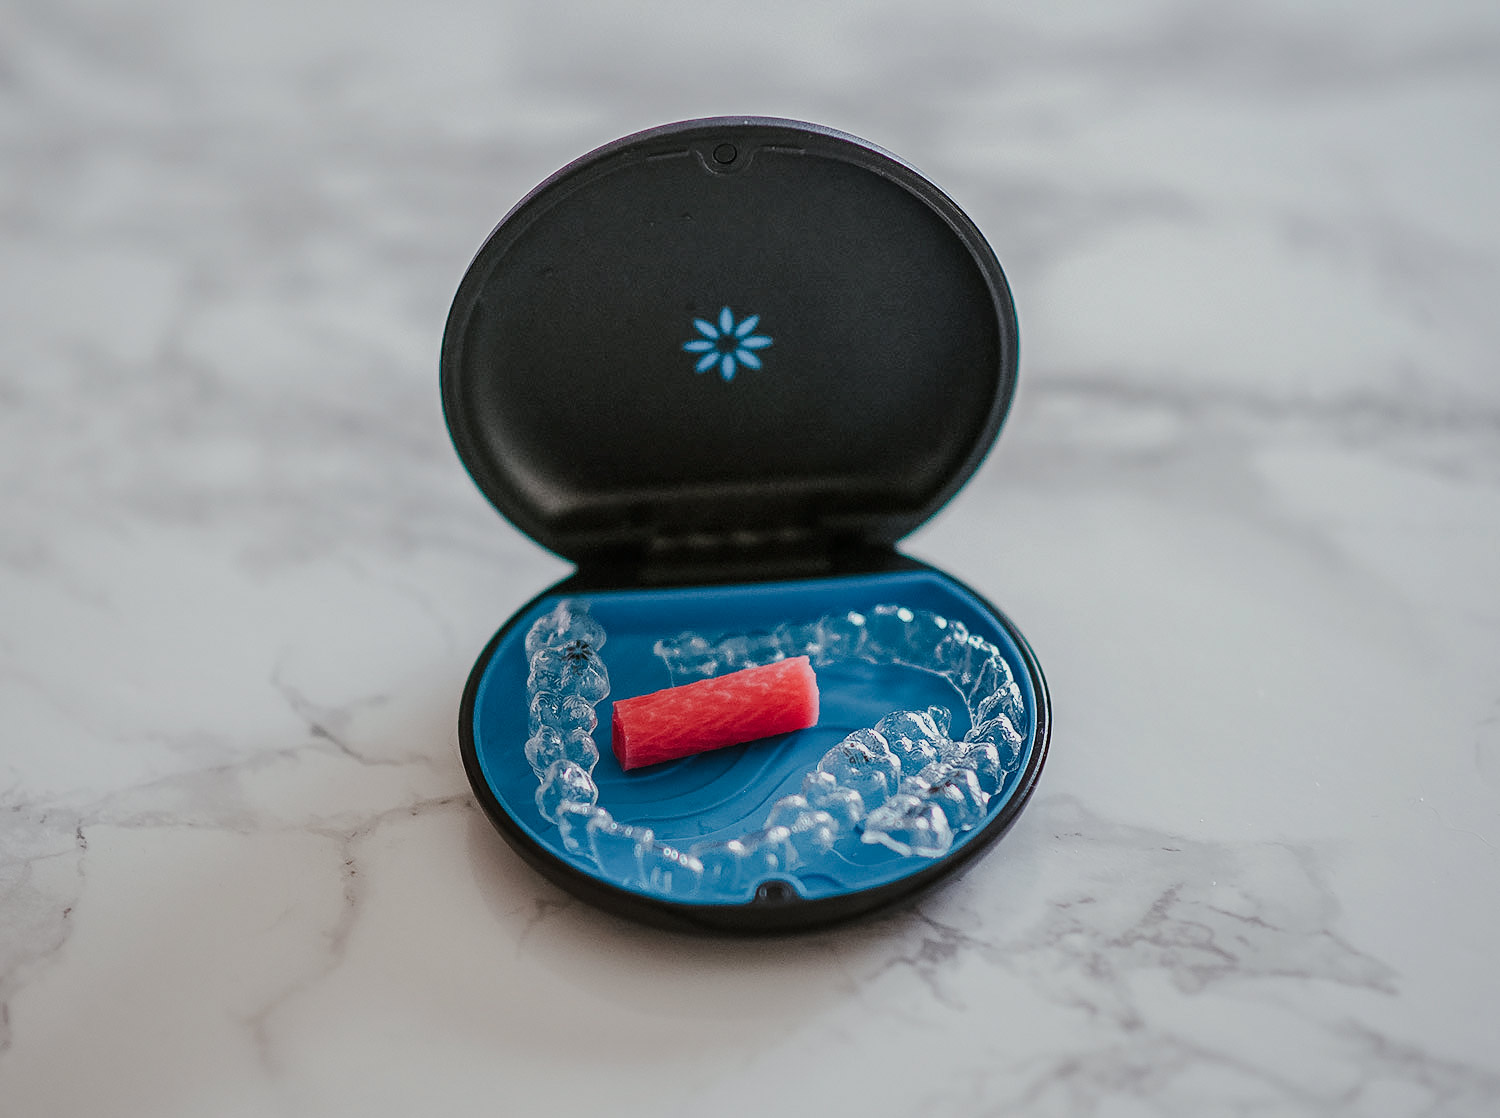
Your kit comes with a box that has a little carry case for your aligners, some instructions, and my dentist gave me a little brush, some extra mini toothpastes (as these will be useful for when I go out to eat, once lockdown is over), and a little chewy to bite on to make sure they’re in place when you put them on.
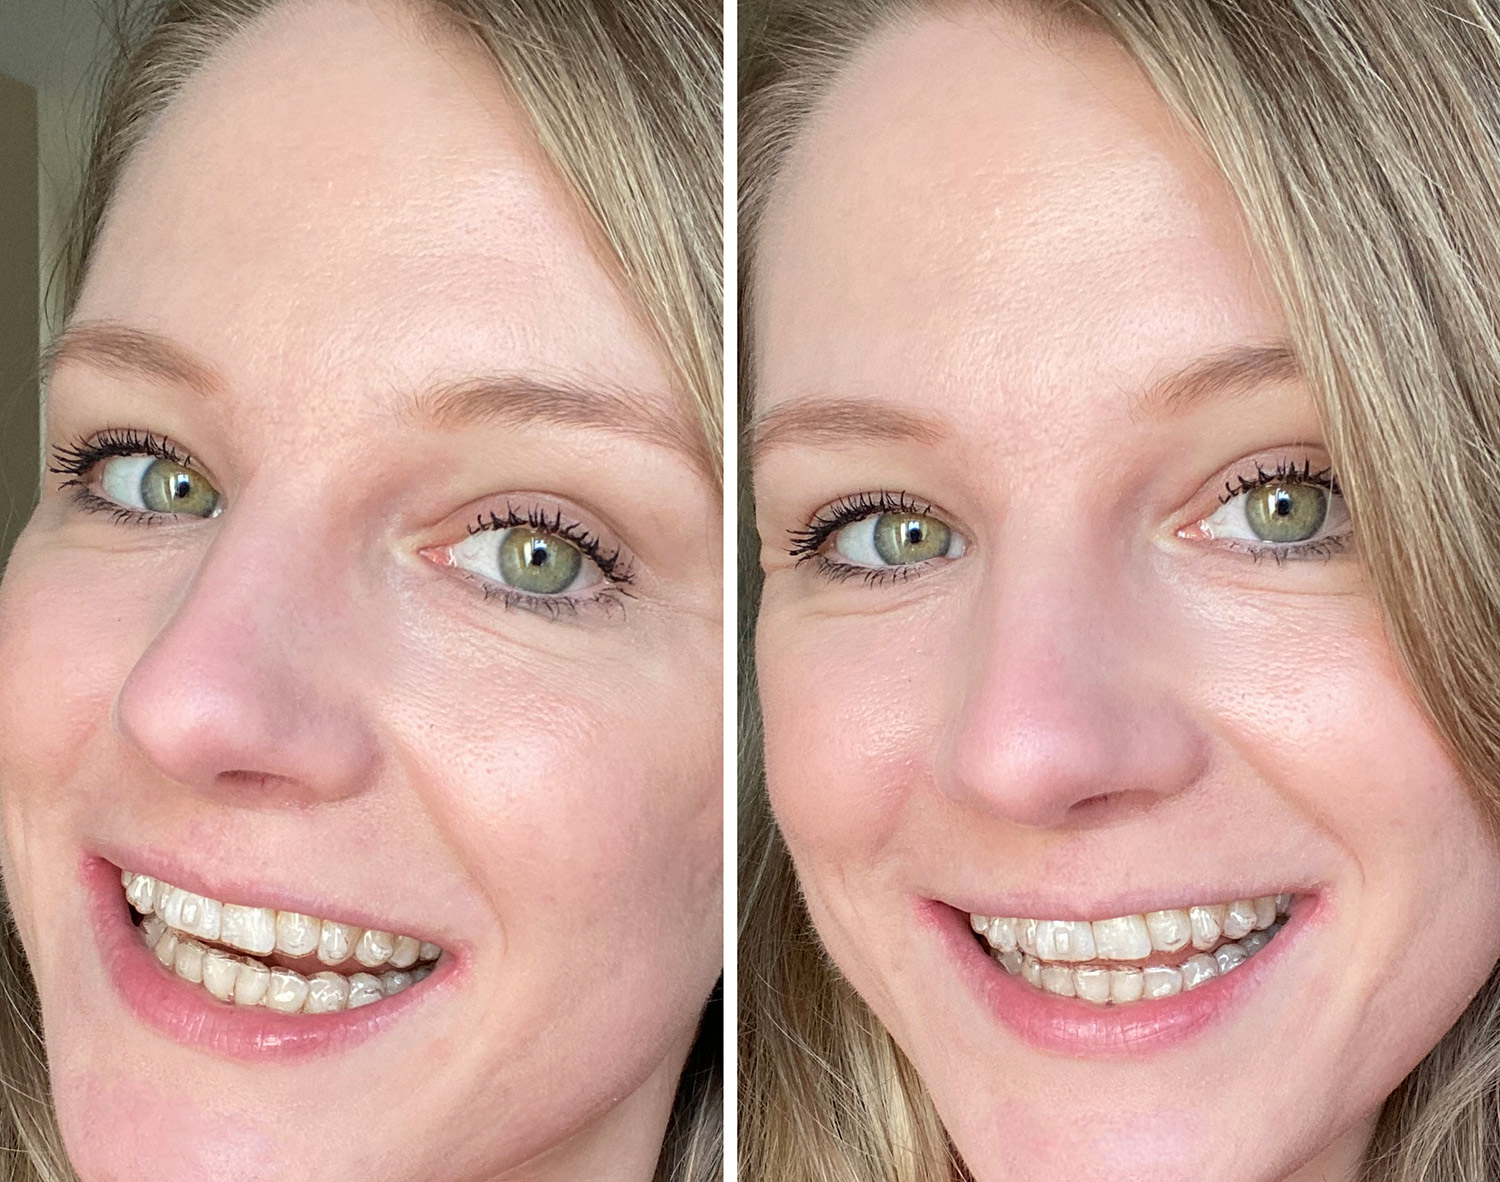
These are my very first Invisalign aligners that I am wearing now, until Friday. I thought I would take a few up close shots of them so that you can see what my teeth look like and how they appear.
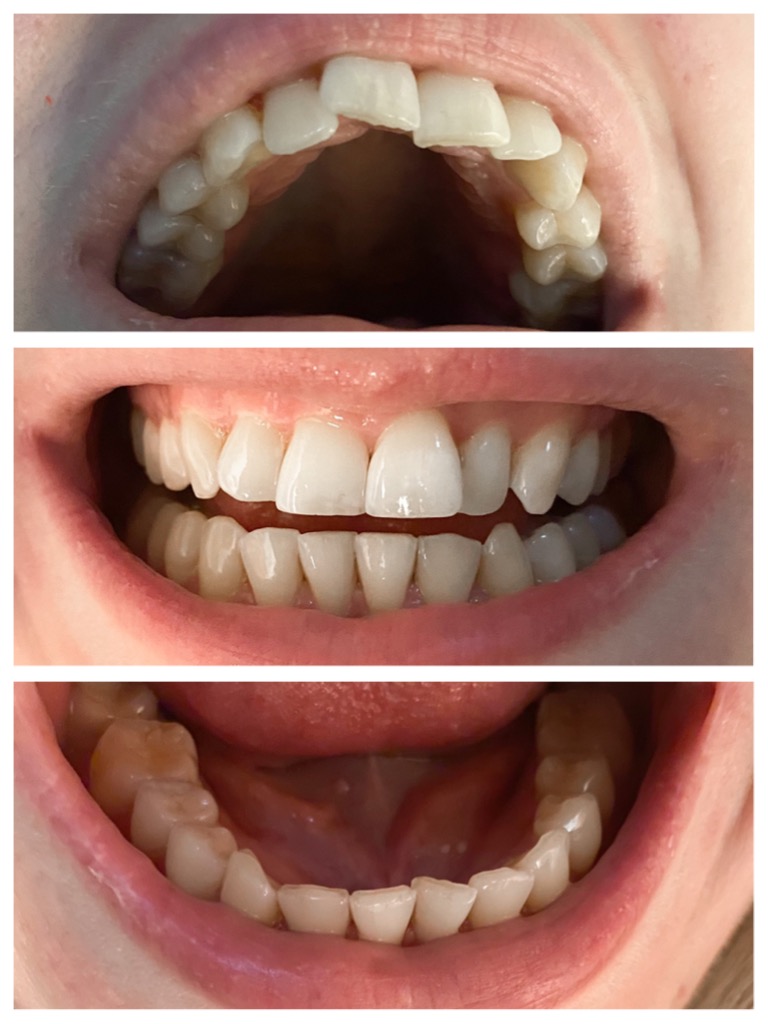
These are up close shots of my teeth before any treatment, so you can see the overcrowding and crookedness on the top, and a couple of angled teeth on the bottom.
And this is an up close shot of what my teeth look like now, with the Invisalign in! From a bit further away, you can’t really tell that there’s anything in my mouth, it just looks like I have shiny teeth! Thank goodness as I didn’t want to have visible, silver braces!
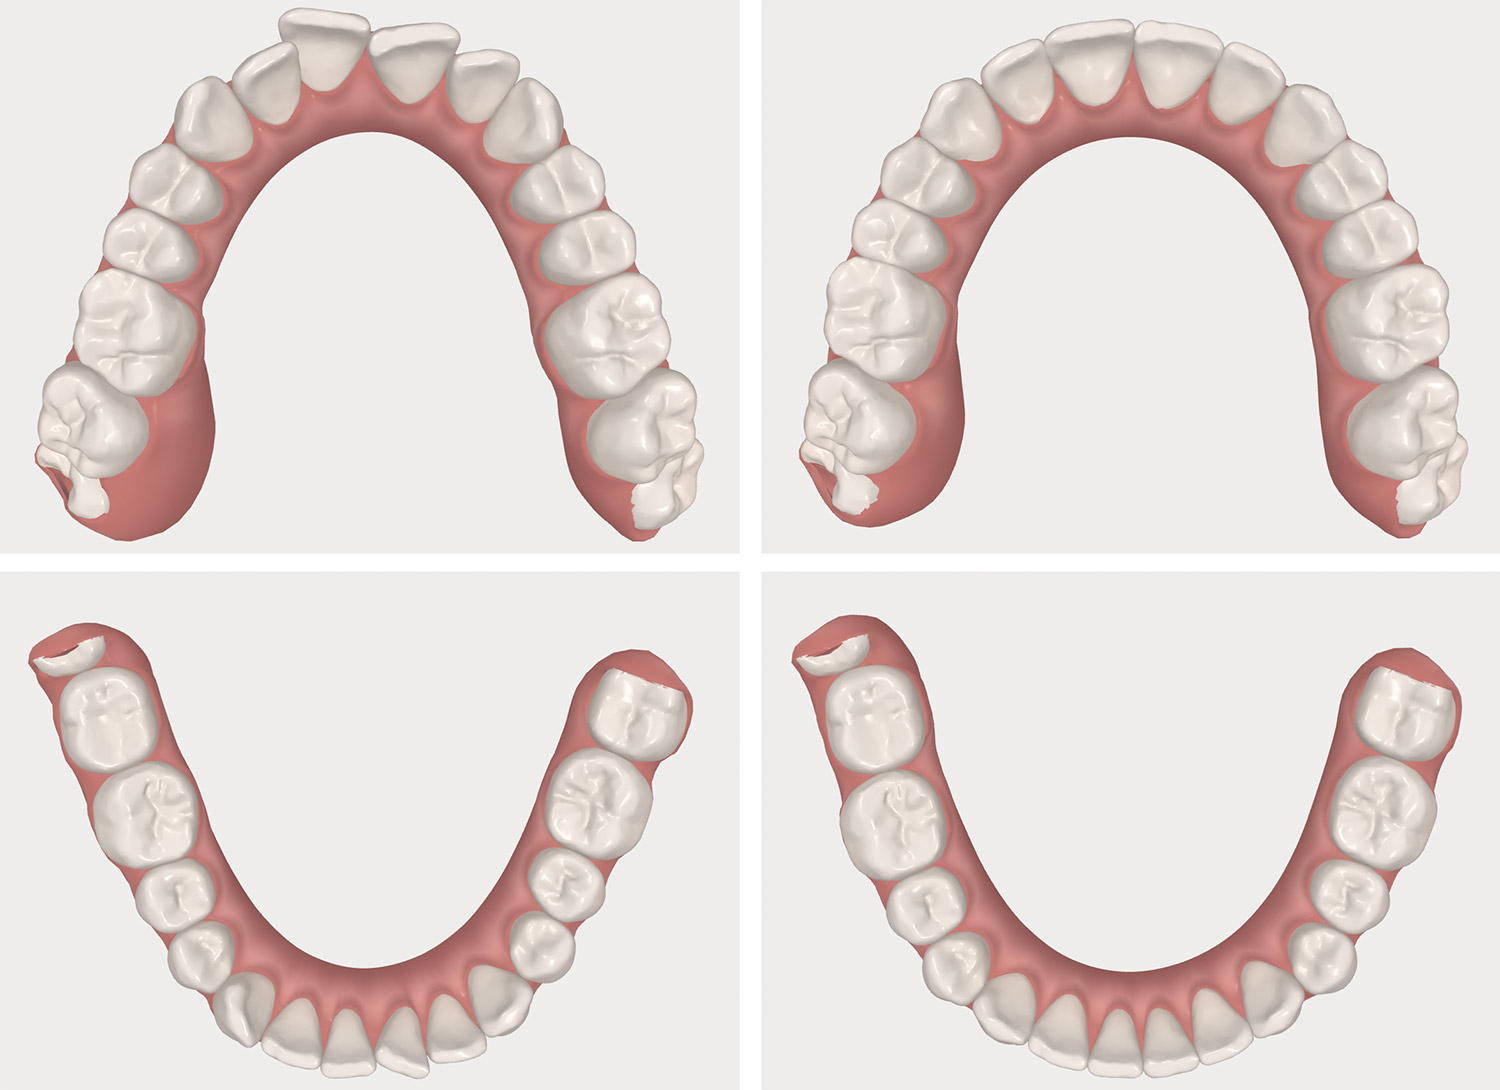
And this is what my teeth are going to look like! On the left you can see what their current position is, and on the right you can see 33 weeks from now, once my Invisalign journey is finished! Don’t they look incredible? I was scrolling through the system online to see how they’d look every week, and it’s incredible, so I can’t wait until they look like those pictures on the right!
And there we have it! This is a review of my Invisalign journey so far, and I’m extremely happy! This is a rare photo above of my smiling a little bit, but I never really like to because of my teeth. I cannot wait to see how this changes over the coming months! I plan to update you again on the blog in a few months time, but I will be sharing stories on my Instagram regularly, so please do keep an eye on my Invisalign highlights reel by clicking here. Have any of you been through this journey? And if you have any questions, please do let me know! Lorna xx.
*A partial discount was discussed between myself, Aquae Sulis Dental, and Rachael Hampton in exchange for promotion. I’m not working with Invisalign directly.
Discover more from FORD LA FEMME
Subscribe to get the latest posts sent to your email.




Wow can’t wait to see final results. Can’t tell you are wearing them at all. Good luck x
Author
Thank you! Yeah, I’m glad they aren’t really visible!
You have me so wanting to try these out. My denist wants me to get brace.
http://www.amysfashionblog.com/blog-home
Author
You should definitely see if you can get Invisalign! They’re more convenient than braces!
I don’t like the sound of the uncomfortable feeling they give you but it’s great you are happy with them and they will give you the results you want 🙂
Hope your week is going well! It’s a rainy one here!
Author
I’m doing fine right now too! I’m not even uncomfortable anymore, so that’s good 😀
Oh this is so exciting Lorna! I can’t wait to see how your teeth will look 🙂 xxx
Author
Me too! I’m super excited! 😀
Hi Lorna what an interesting way of have having your teeth sorted out , i had four teeth removed while at school and a brace on the top teeth but nothing on the bottom , This was due to over crowding and all is still well now . It looks a lot of work but will be worth it in the long run and it will help you feel more confident in your self though i dont think you need . take care Ian
Author
Thank you, Ian! Yes! I’m going to feel a lot more confident in the end! Of course nobody ‘needs’ anything, but for me it’s something I’ve wanted since I was a kid and I grew wonky, crowded teeth. I’ve always loved how straight teeth look, and I’m finally in a position where I can achieve that now!