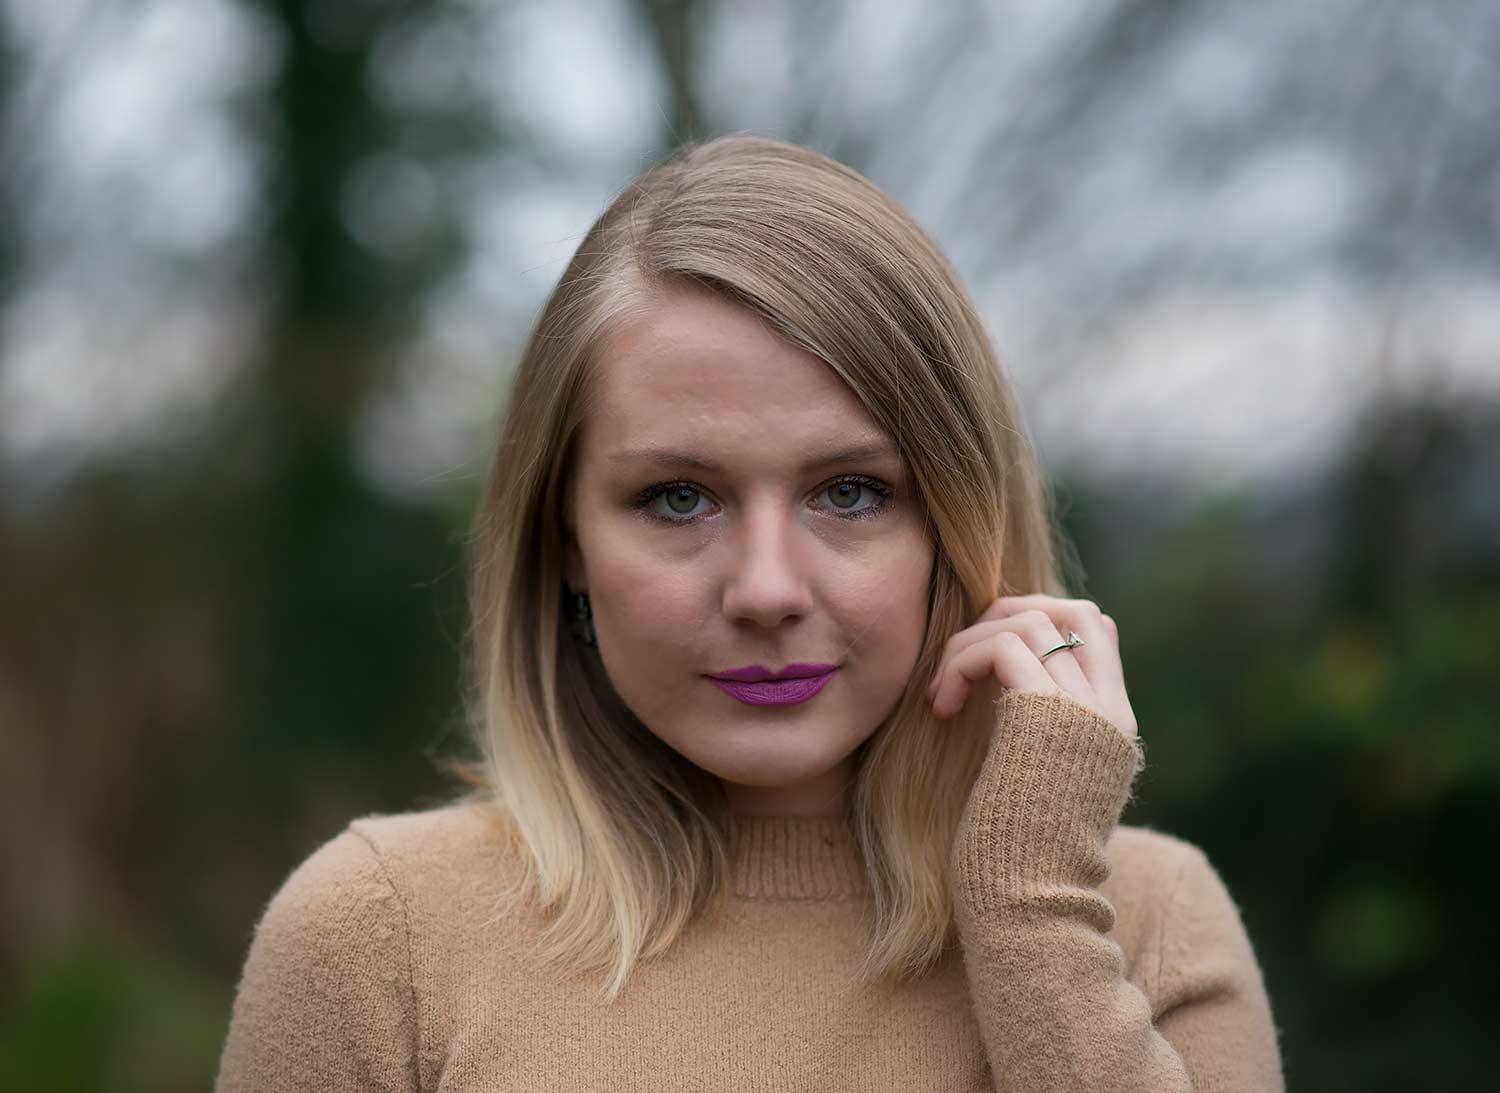
Something I don’t often cover on my blog is my make-up. I’m by no means an expert with make-up and it wasn’t until about 5 years ago that I started wearing it (older posts I have none!) and maybe about 2 years ago that I started really doing my make-up properly with products that I love. I would say the last 18 months have been where I’ve really perfected my signature look, which I find to be subtle, but enough to show that I’m wearing make-up and to make my features pop.
I thought it would be nice to share my entire make-up routine with you if I’m doing full make-up which I would wear for going out to an event, or a date night etc. I added party in the title as it would be a party look, but for me I never attend them, that’s not to say that this look wouldn’t be suited to one though. It’s got some glitter to it, bright lips, and contouring as well, but it’s all done with powder as I have problem skin and liquid foundations are no good for me. I use a mixture of Benefit, Illamasqua, and Mally and it’s a really quick, easy routine that even I can do.
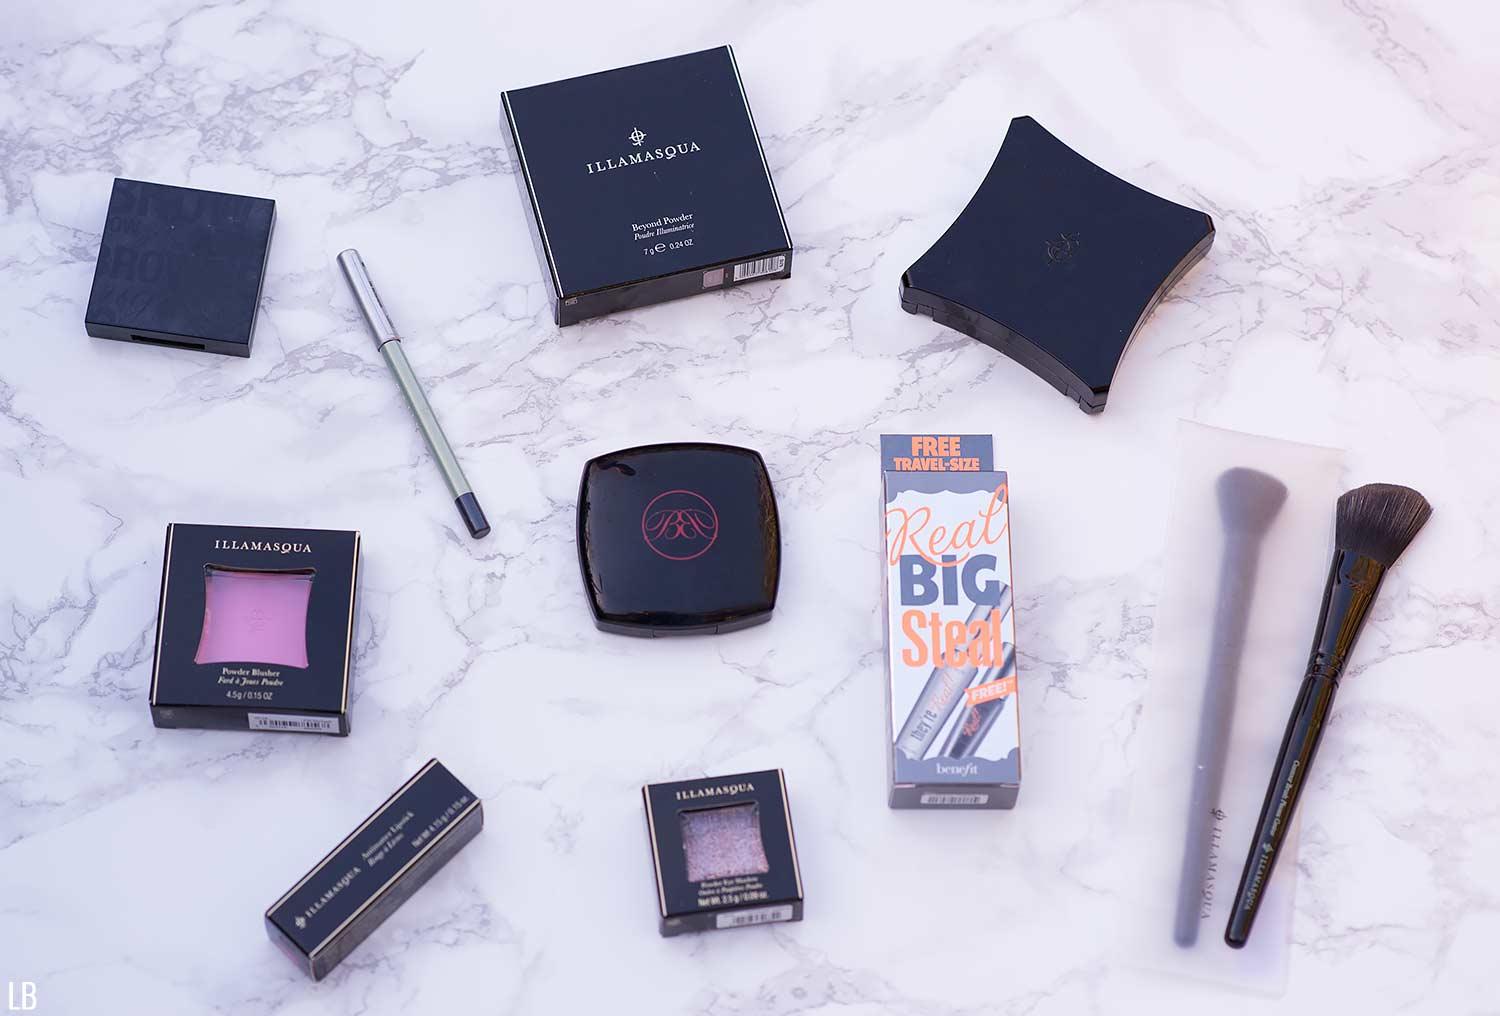
Base & Face Powders
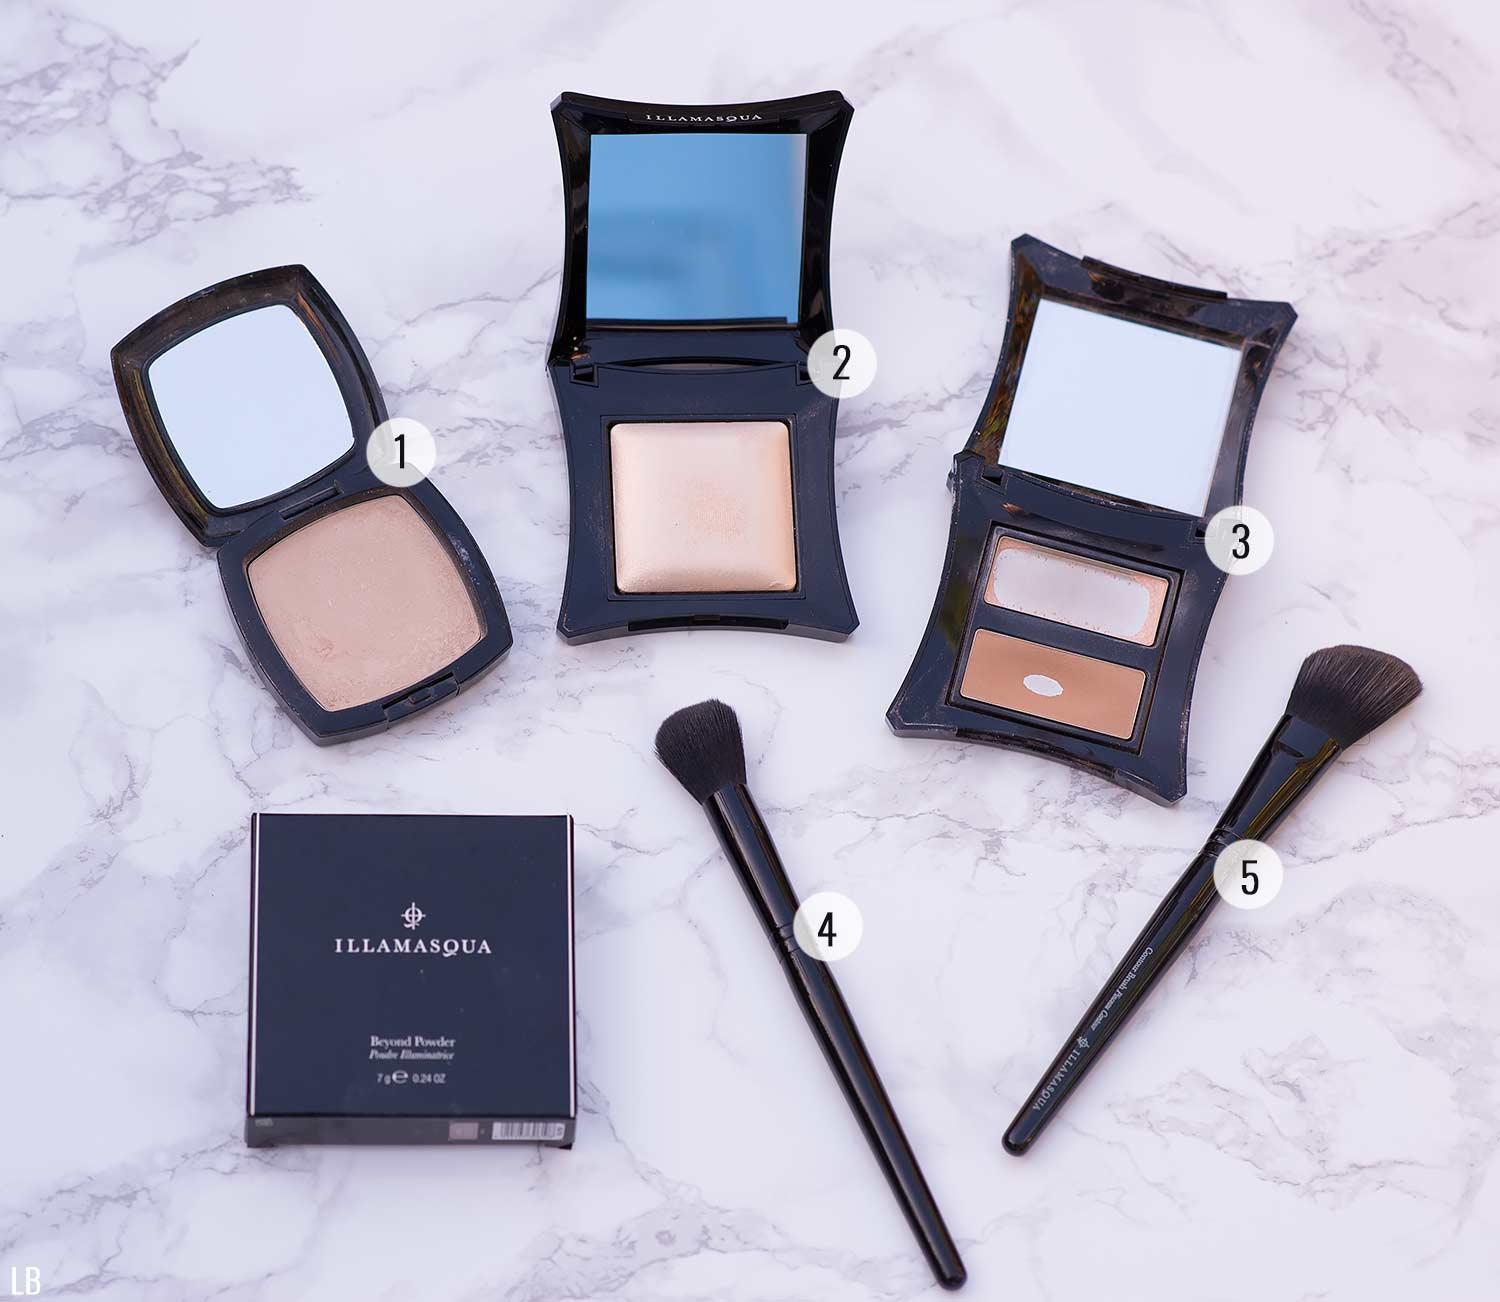
1. Barbara Panagos Pressed Foundation – Beige
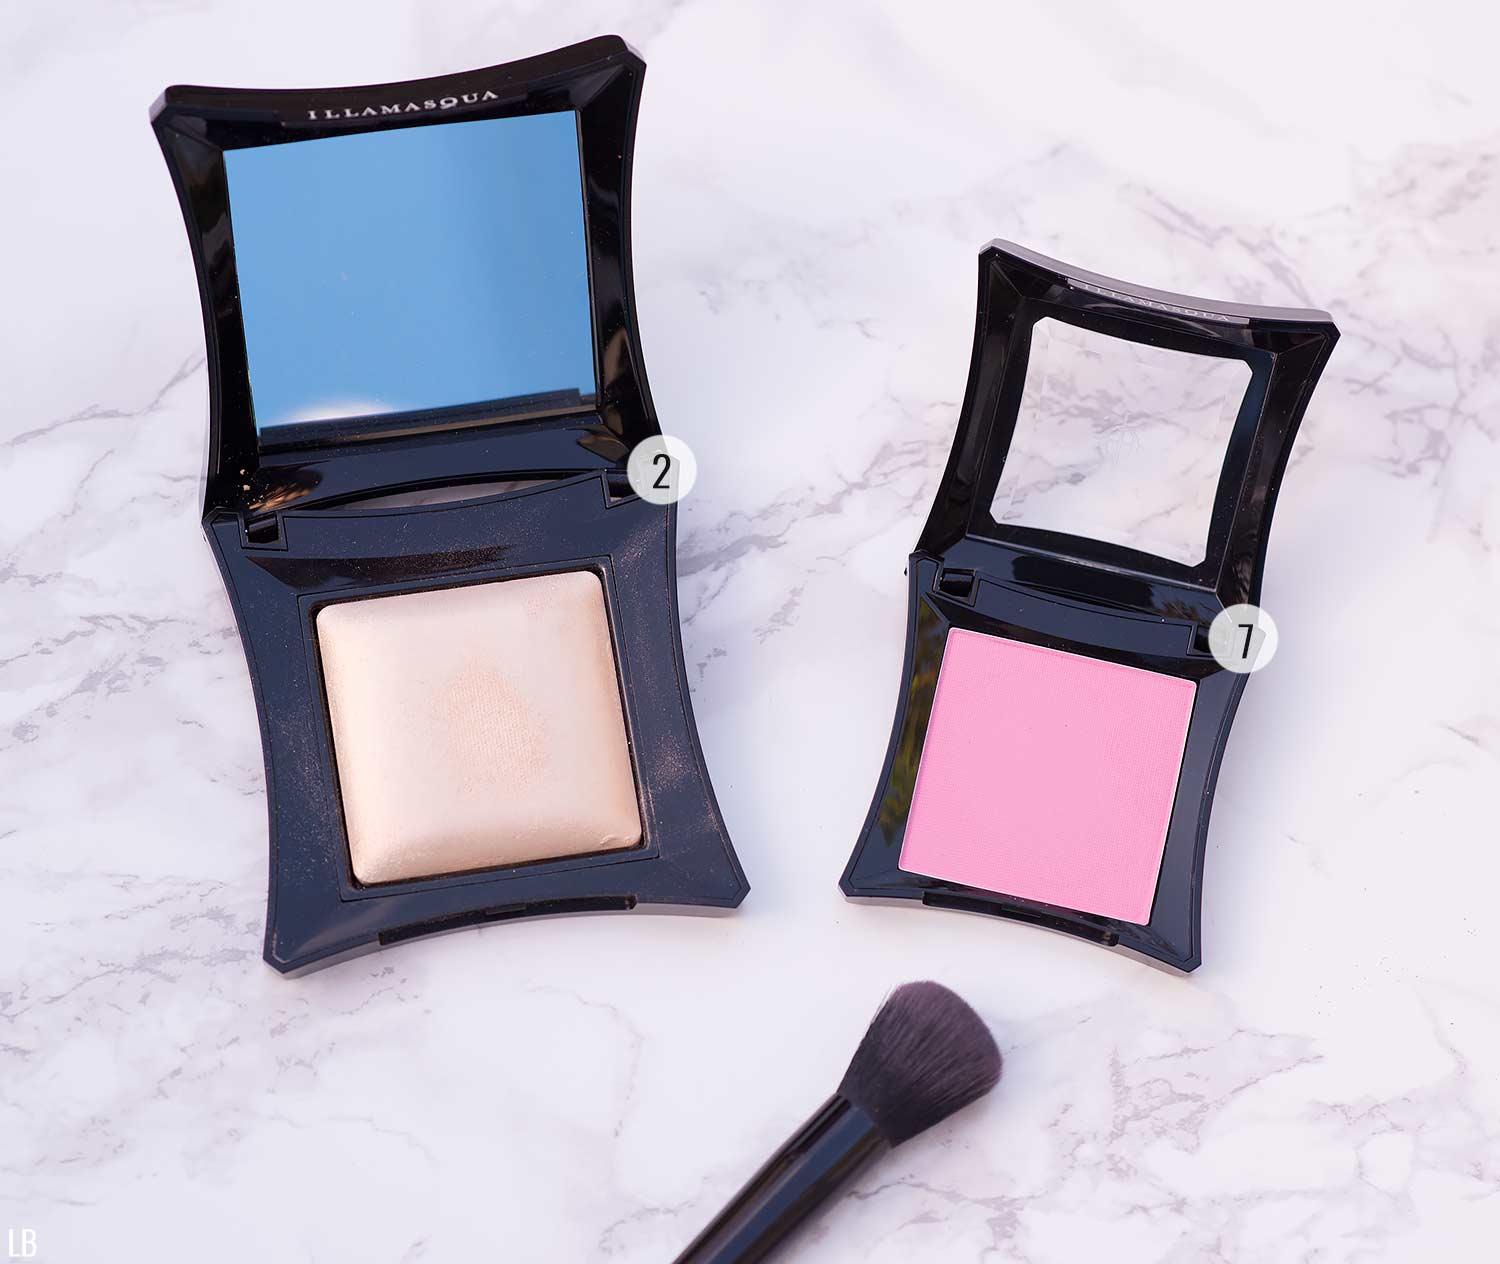
2. Illamasqua Beyond Powder Highlighter – OMG
3. Illamasqua Sculpting Powder Duo – Heliopolis & Lumos
4. Illamasqua Round Cheek Brush
5. Illamasqua Angled Cheek Brush
6. Bare Minerals Kabuki Brush (not pictured)
7. Illamasqua Powder Blusher – Nymph
These are the products that I use on my face as powders to create the look I have. I always do my Liz Earle skincare routine first and after moisturising, I put on my Barbara Panagos Pressed Foundation in Beige using my Bare Minerals Kabuki Brush (which I forgot to photo). I’ve been using this foundation for about 3 years now and it’s amazing. It’s made with natural products and doesn’t have any talc in it to bulk it out, so it doesn’t dry out or irritate my face. It’s the foundation I use every single time I go out and it’s perfect. It’s not too light for me and gives me a nice glow, but for a powder, you’d be surprised at the coverage it gives you as well, all while looking natural.
After applying the foundation, I then do my contouring (see below on how I do that) with the Illamasqua Beyond Powder Highlighter in OMG and the Sculpting Powder Duo for the Contouring Bronzer. I used to use the Highlighter in the duo set, but I ran out and decided to try the full size instead. When I first learned how to do this, I was shocked at the difference it makes to your face. It sculpts it and gives you cheek bones and really frames your face, which I can never get enough of. You can see below how I do it.
I recently started to use the Illasmasqua Nymph Pink Blusher as well. I never used Blusher much as I always tended to have rosy pink cheeks (traits of an English Rose) anyway and I did anything I could to hide that, but now I embrace it and I like the little hint of colour it gives me. Again you can see in the photo at the bottom where I put it, but I only use the smallest amount and it just gives a hint of colour to me.
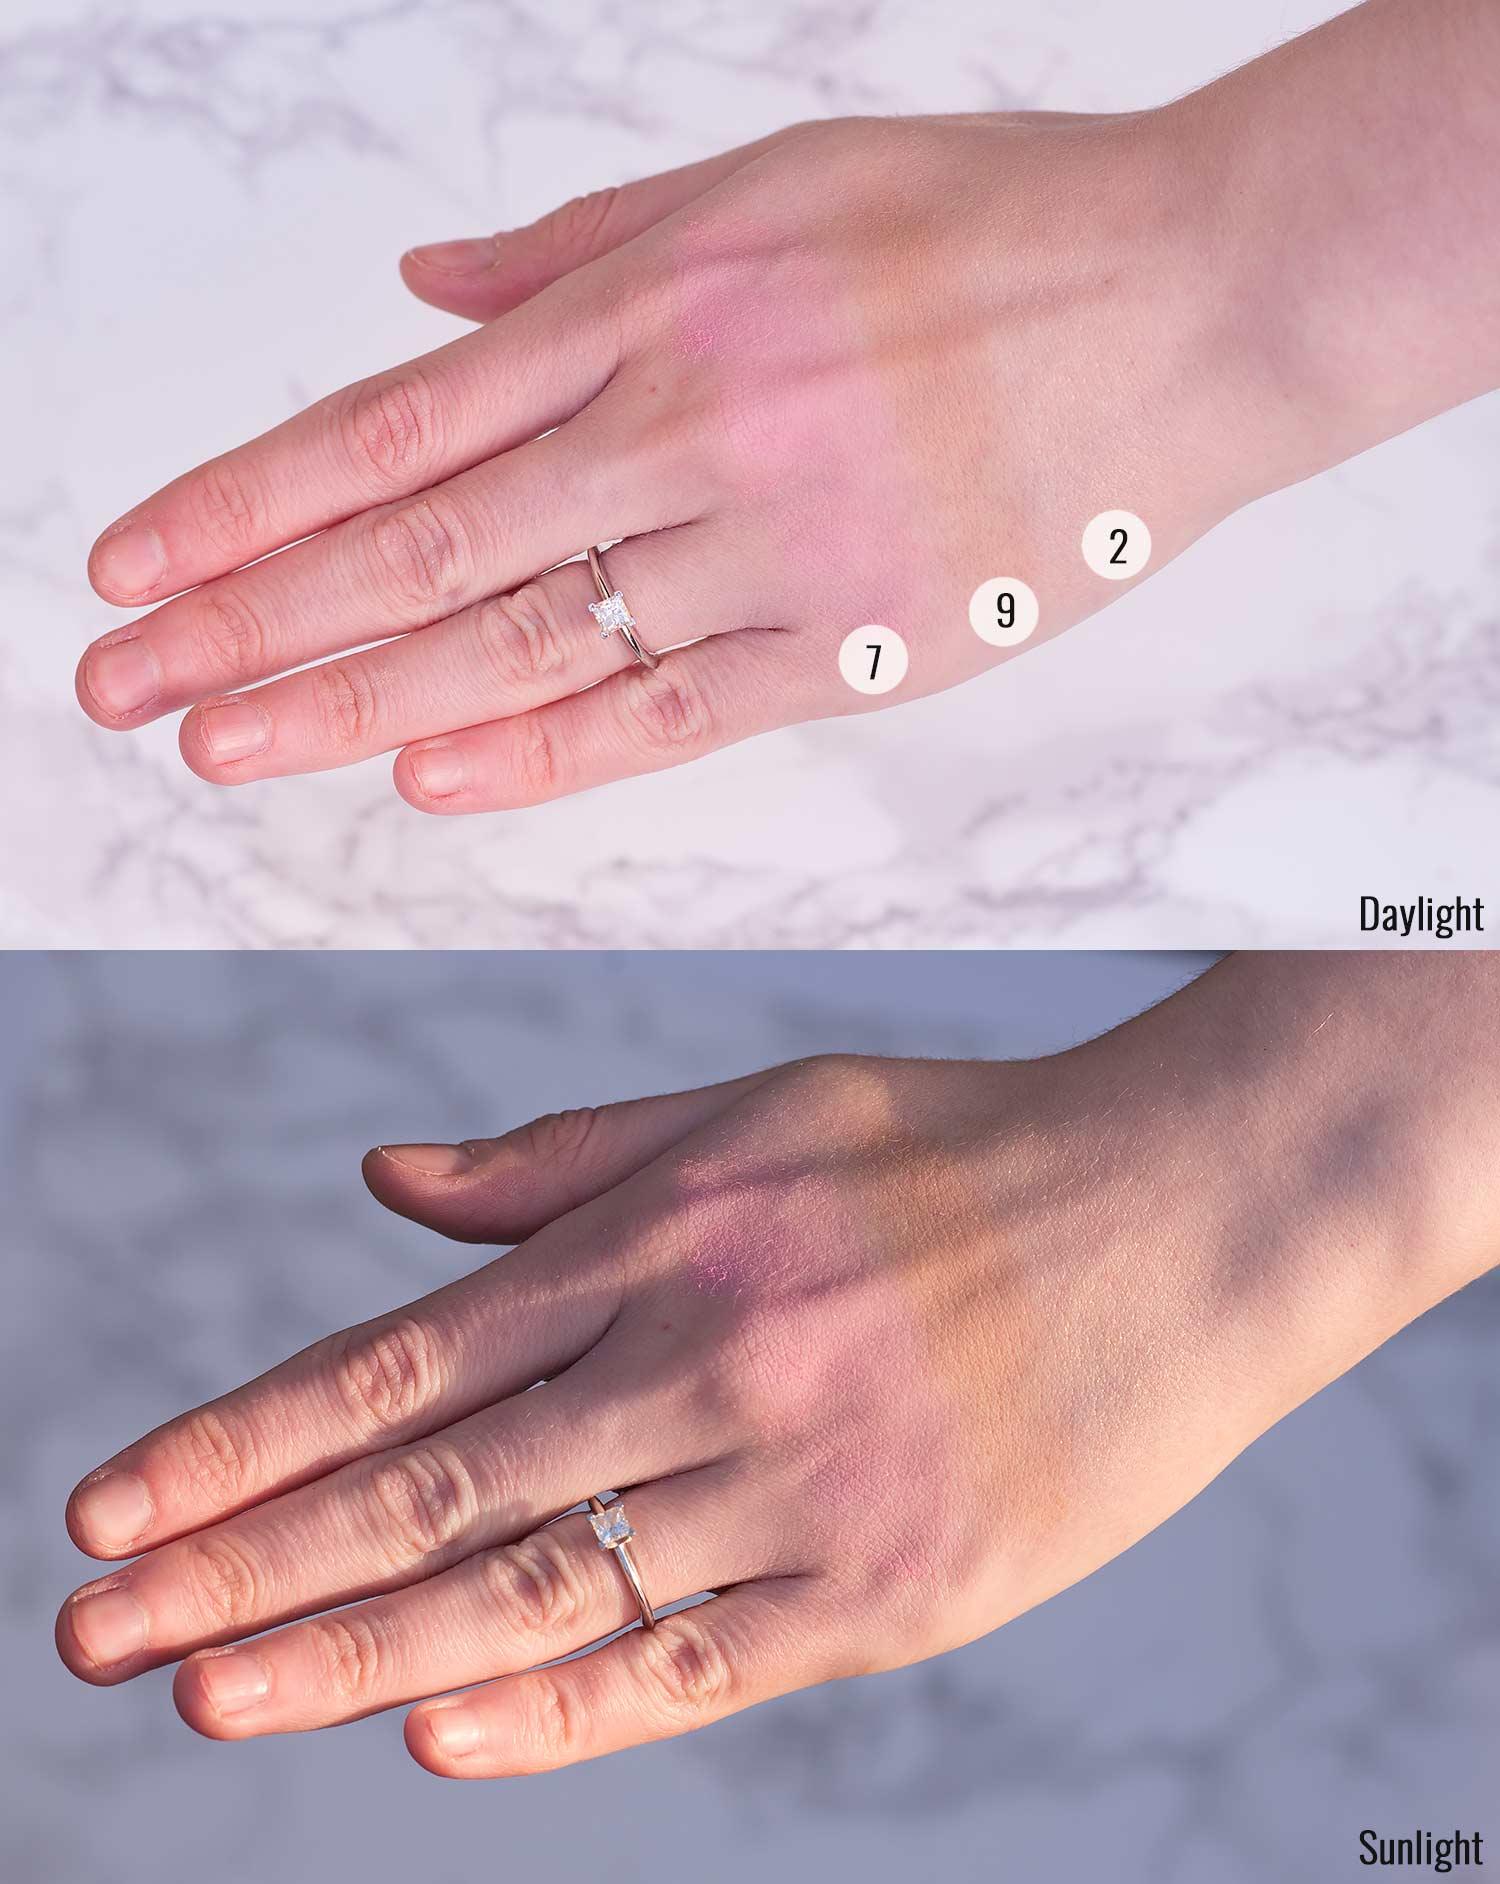
You can see the colours of the Bronzer, Highlighter, and Blusher just above on my hand, shot in daylight and sunlight so you can see the shimmer as it’s harder to see on my face. I applied them quite liberally though so you can really understand and visualise the pigments and tones. So all of that completes the base of my face, and we move onto the rest…
Eyes, Eyebrows & Lip Products
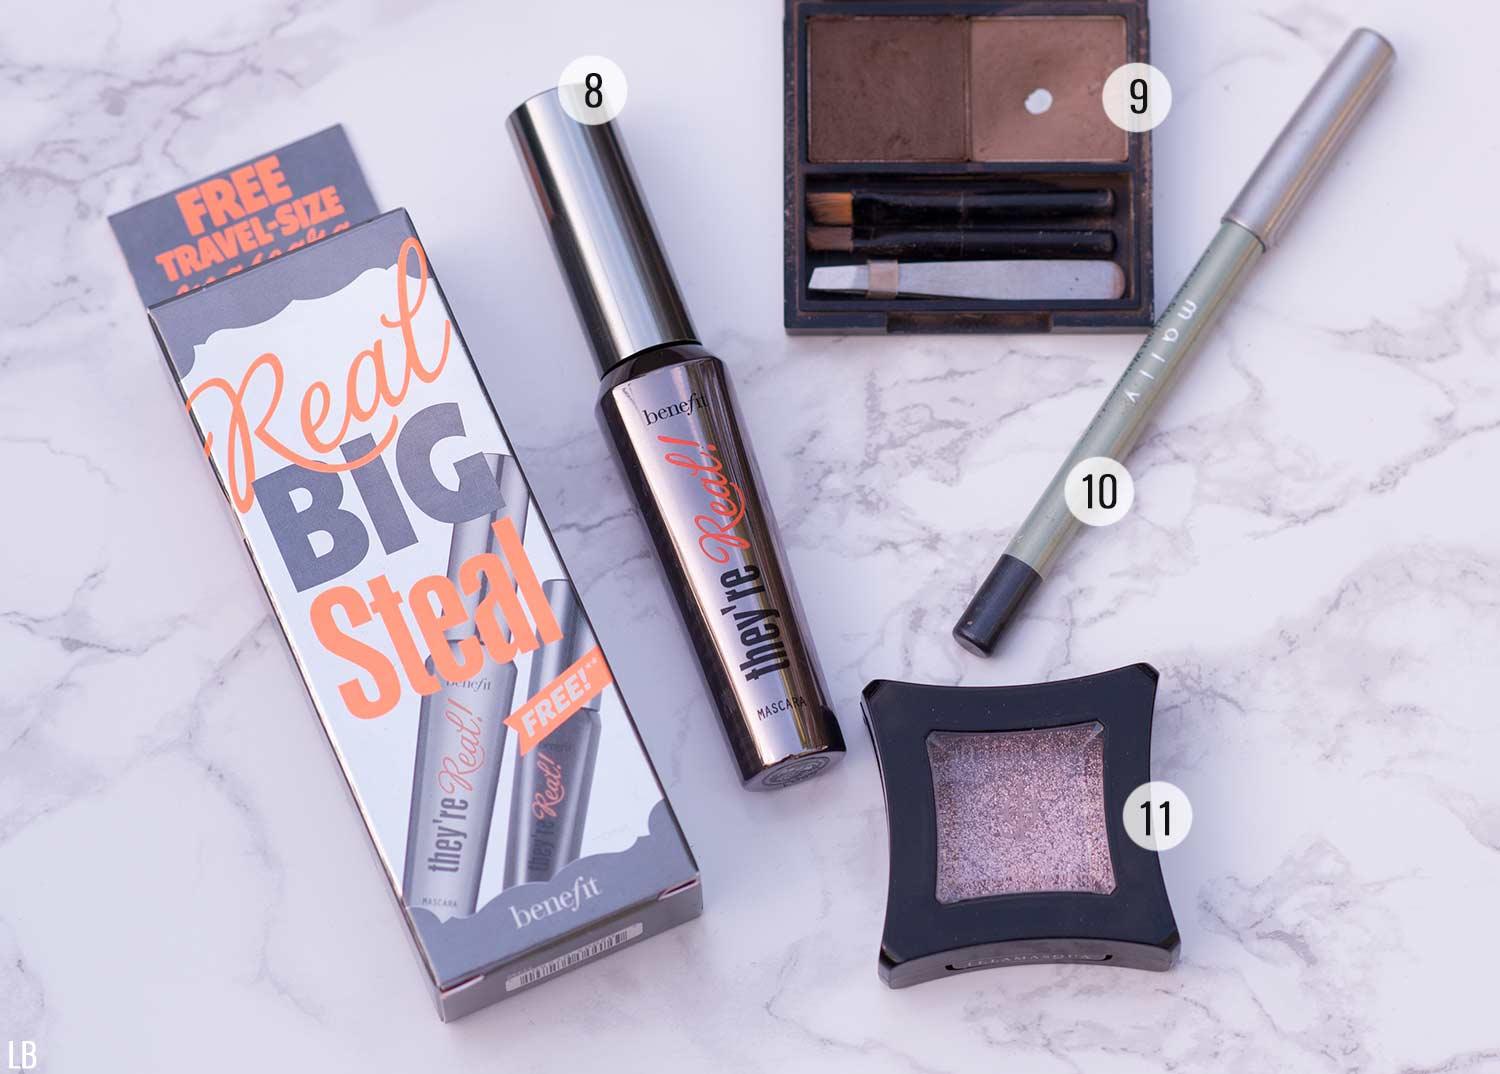
8. Benefit They’re Real Mascara – Black
9. Benefit Browzing Eyebrow Duo – Light
10. Mally Ever Color Eyeliner – Gunmetal
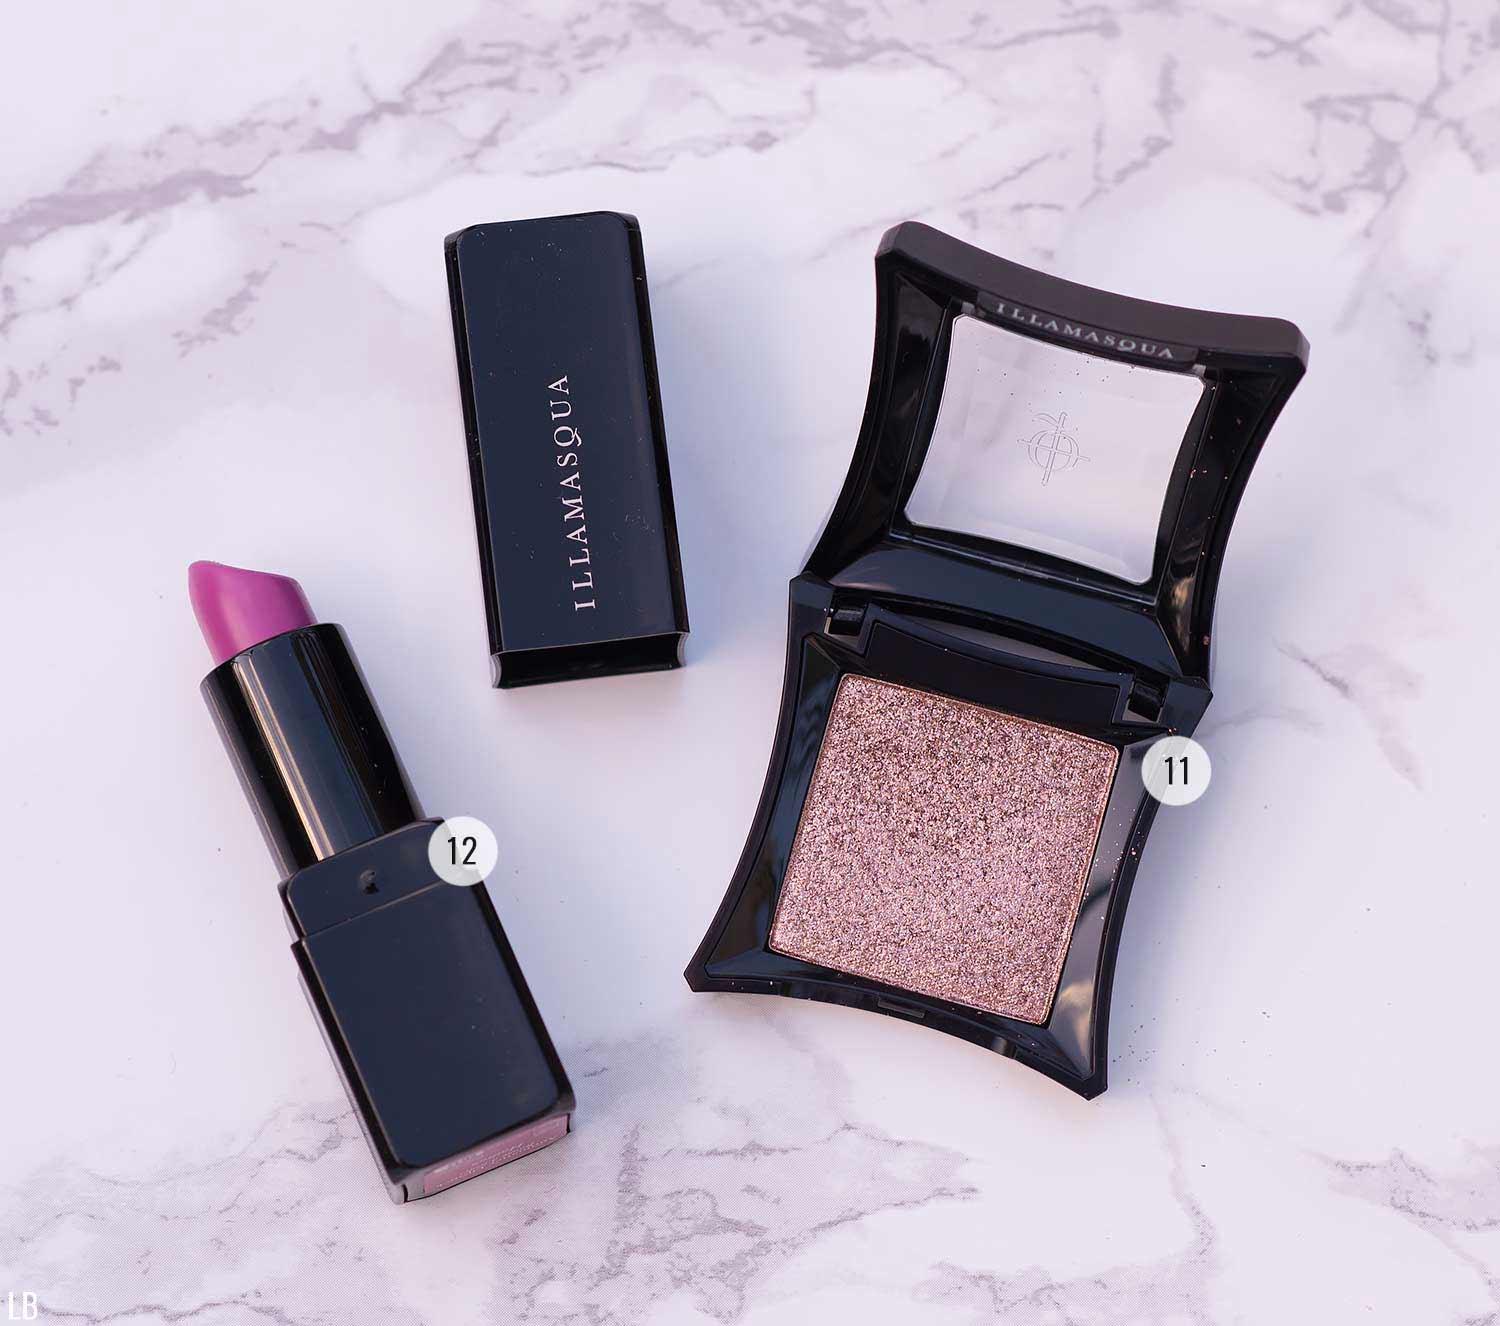
11. Illamasqua Powder Eye Shadow – Jubilance
12. Illamasqua Antimatter Lipstick – Hadron
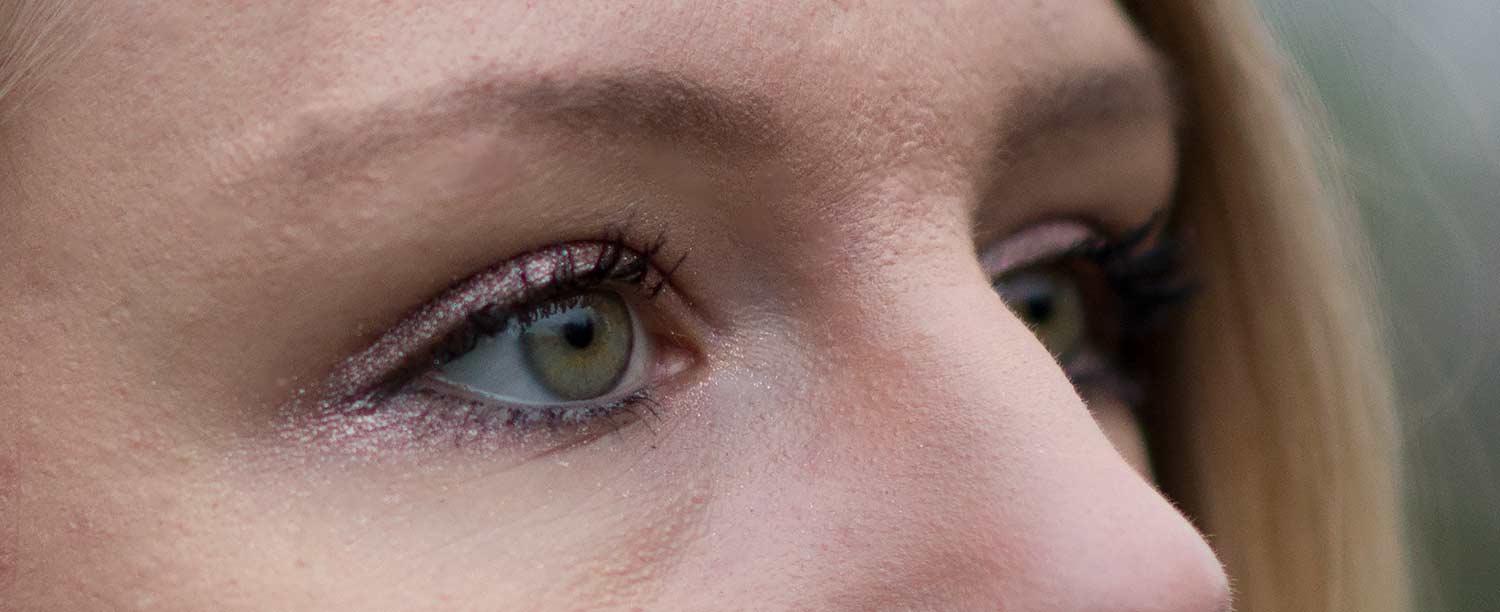
Now I have never been the best at all with creating amazing eye wings or smokey, sultry looks. I usually just stick to one or two different eye shadows, my mascara, and eyeliner for my waterline and outer edges of my eyes. To start with for this look, I took the Illamasqua Eye Shadow in Jubilance and covered my eyelids with it using an eye shadow brush. I swept a few coats of it all over and then even a little bit down the waterline and around the eye, so the golden glitter would really sparkle. It’s gorgeous! It’s literally the best eye shadow I have ever seen with the intense gold tone, with as much glitter as possible, while remaining subtle. It’s perfect!
I then use my Benefit They’re Real Mascara as I’ve been using this one for years. It really does lengthen and lift the lashes while making them really dark. I apply about 3 coats to my top lashes and then one subtle coat to my bottom lashes. As I have blonde lashes and a pale complexion, I can’t apply too much to the bottom without looking like a panda, so I try to keep it subtle.
Next I use my Mally Ever Color Eye Liner Pencil in Gunmetal as I can’t use black due to being pale. The grey tone of it is perfect to make a statement and make my eyes pop, but it’s not dark enough to look harsh. It’s a very soft pencil that’s soft to touch, so running it across my waterline is just fine. I then take it to the outer corners as well to create a little flick and a join to the top eyelashes. If that makes sense? This just really frames my eyes nicely.
As I mentioned, I have blonde lashes, which also means I have blonde eyebrows and if I don’t darken them, they are almost non existent. I look silly without eyebrows as it throws my entire face off, which is why I never like to go out without using my Benefit Brow Bar Eyebrow Powder in Light. I don’t use the wax which is the darker one on the left, I only use the lighter powder and brush it through my eyebrows using the rounded brush. I try to create a pretty symmetrical shape with them, but it’s not too dark that they look drawn on. It’s not a pencil or a gel, it’s a powder which means it looks really natural and just like my eyebrows.
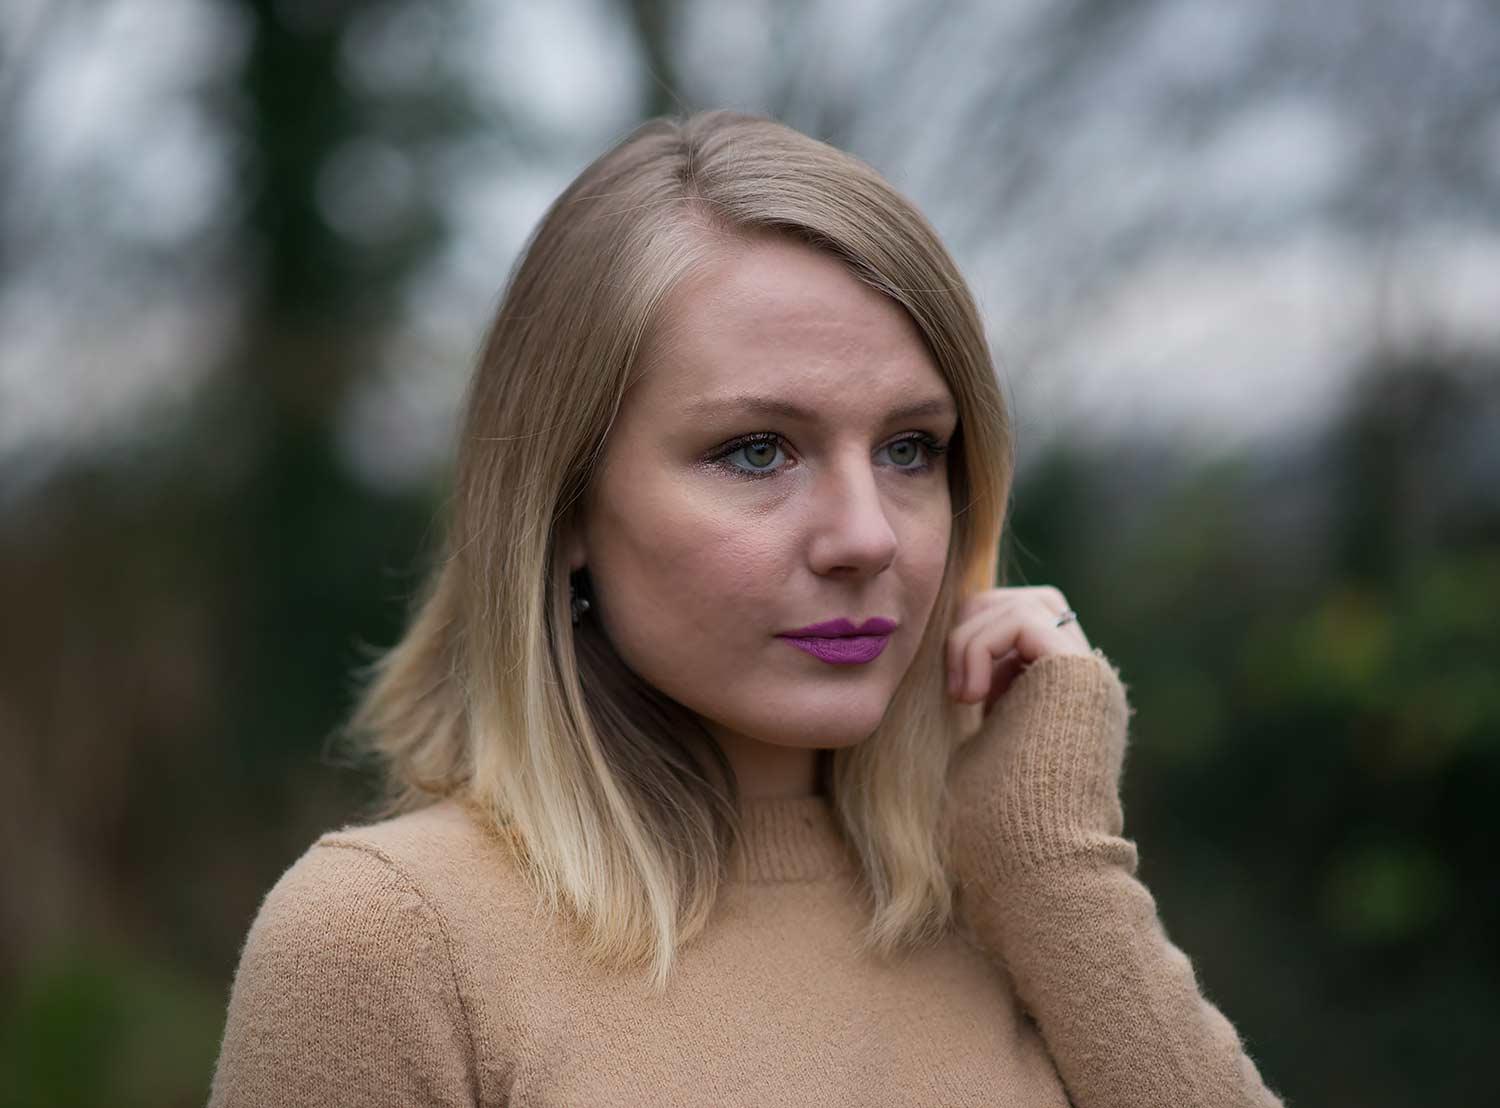
Then finally, for this particular make-up look, I chose this Illamasqua Antimatter Lipstick in Hadron as it’s a stunning shade of pink. I have a few different lipsticks and vary between my Pixi ones and others, but to complement the golden shimmer of the eye shadow, I think this Hadron shade is the ideal mix of pink and purple to be feminine, but sexy at the same time. It’s not too much, it doesn’t look over the top, and it feels nice on as well as it’s a mix between matte and satin. I’m definitely a fan of the colour as it’s different for me and gives me more of a bold appearance.
Where I Contour, Highlight & Put Blusher
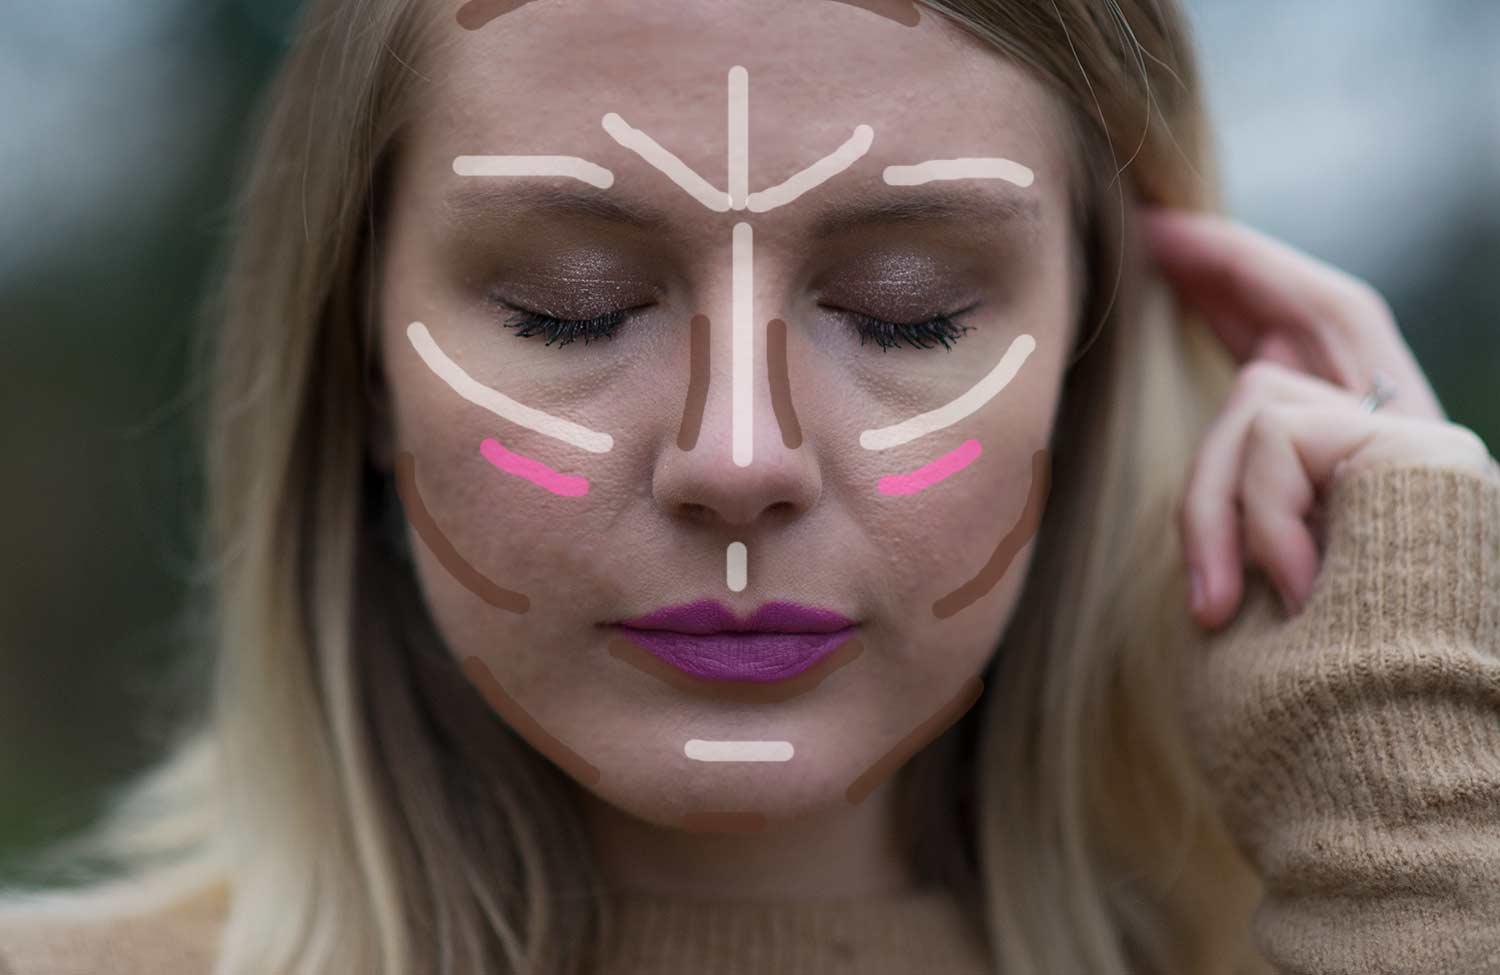
I thought this photo of me with the lines drawn on would be helpful to show you how I contour and highlight my face to frame and sculpt it. If I don’t do this, given my younger/chubby cheeks appearance despite being 30 next year, my face tends to look really child like and just flat or dull. I never knew much about doing this to my face until Kim Kardashian made it popular ages ago, so let me show you what I do.
Dark Brown Lines – These represent the Bronzer which I apply with the angled brush (number 5). I suck in my cheeks to make sure I get the line from my ear to the middle of my cheeks where it sinks in. This creates a shadowing which gives the appearance of cheek bones. I also apply it to the jaw line, down the sides of my nose, and to the top of my forehead by my hair line. These locations need shadowing to sculpt them.
Light Cream Lines – The lighter lines represent where I apply the Highlighter using the round powder brush (number 4). The place I apply the most is on the tops of my cheeks which I sweep over from the edge of my nose to the edge of my cheeks in an upward motion towards the outer corners of my eyes. After you have put the shadowing on your cheeks with Bronzer, the Highlighter really makes that pop and define your cheek bones. I also apply it down the bridge of my nose, leading up to the centre of my forehead, the middle of my chin, and around my eyebrows to give them a lift. Once the highlighted areas are done, the shadowing really stands out as well, which gives your face an appearance of being defined (see this example), but in a subtle way.
Light Pink Lines – This shows where I put the Blusher. Using the same round powder brush as the Highlighter, I apply it just to the apples of my cheeks. I find these by smiling and applying it to the rounded areas that stick out when you do that. I only put a little bit on as I’m not a fan of the intense blusher look, but those of you who suit it, feel free to put much more on.
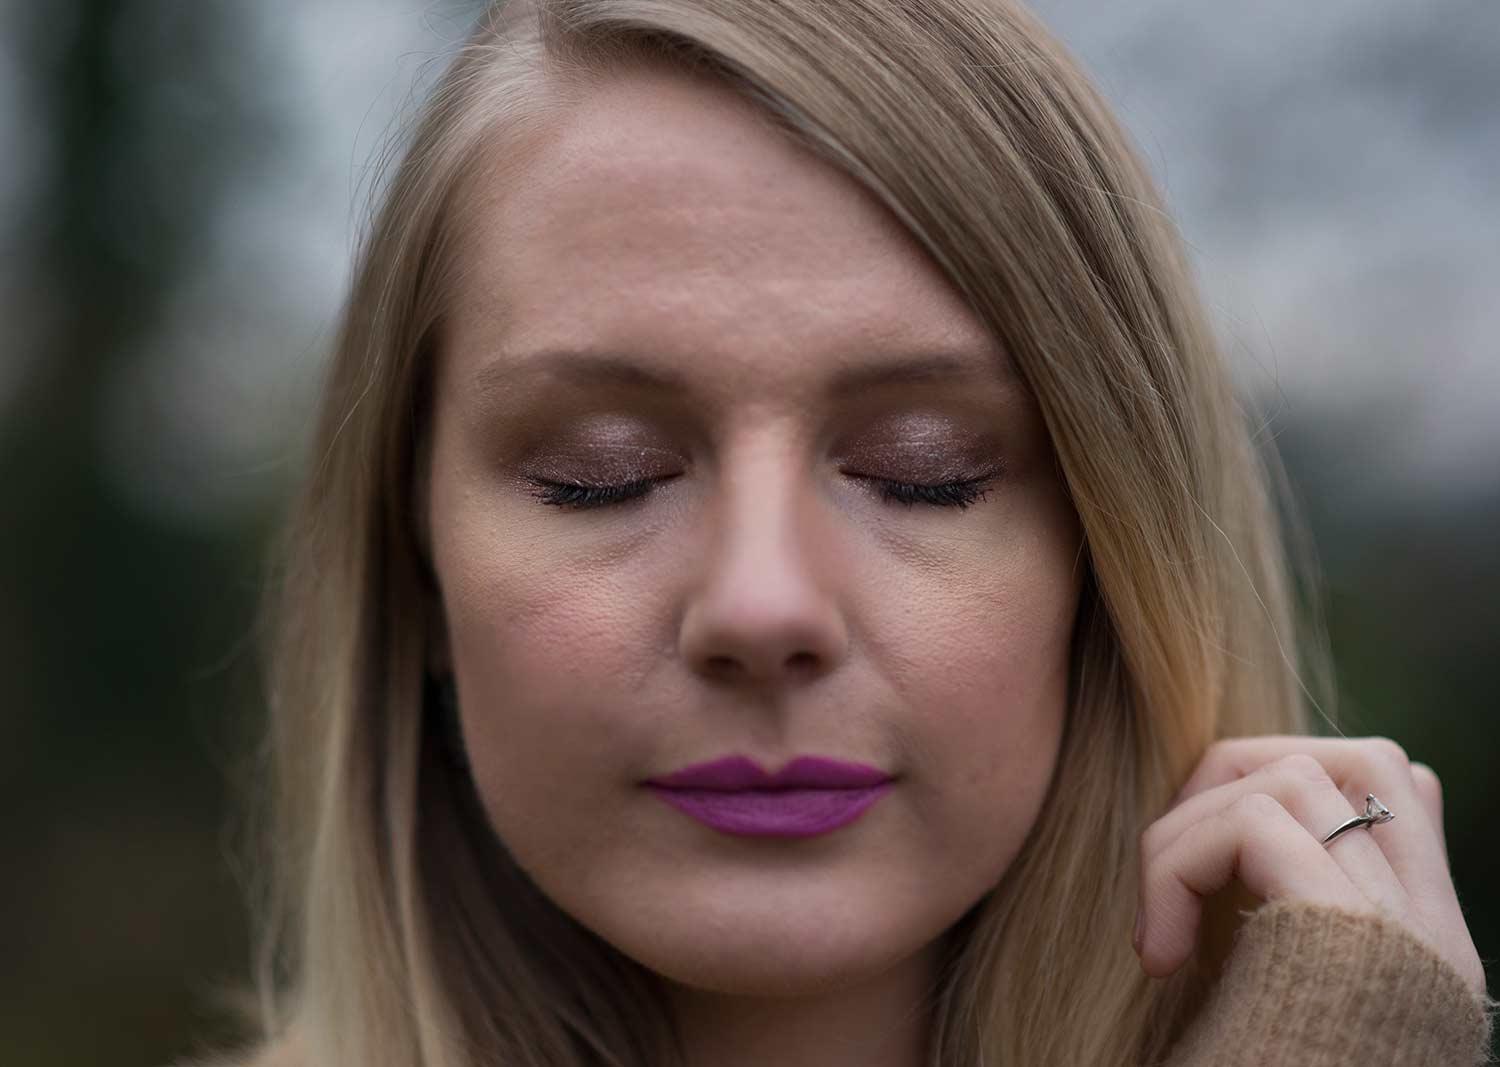
I really hope that shows you that you can achieve a party or night time make-up look even if you’re no good at doing make-up, like I’m not. I would say it takes me about 15 minutes to do and it couldn’t be easier as there’s nothing complicated to do. You only need to know how to use a brush and powder, follow lines, and apply lipstick neatly. I’m extremely lazy when it comes to putting make-up on and despite being a girl, it’s something I dislike doing as I would love to just leave the house, but after seeing how much more confident I feel when I do my make-up nicely like this and how sparkly it makes my face, I do love it. I definitely recommend these make-up products to you as there really good quality ones that I have come to love and trust over the years after trying out loads of other products which were just not suited to me.
– What make-up do you love to use? I would love to know!
Discover more from FORD LA FEMME
Subscribe to get the latest posts sent to your email.


I love this and appreciate that you took time to write in-depth about everything. You’re the second blogger whom I came across uses so many Illamasqua products. It’s a brand that I want to explore in the future, so far only used a liquid eyeliner from them and it’s amazing.
Shireen | Reflection of Sanity
Author
Thank you! You should definitely try more of their products, I am obsessed with them! Serious love for them!
Lorna, I always like your make up and I had no idea you didn’t wear it before… that means you have a very natural look which is how most people should wear their daily make up… I do love some glam though for night looks… I am into gold glitter, I too have never been able to do the smoky eye… I wish I could but it never looked good… Have a great week xox
Author
Thank you, Launna! I do try to keep it looking natural, but with a hint of it showing. I don’t think you followed my blog years ago when I never used to wear any, that was a long time ago now, so I don’t think you’ve seen me without any! Smokey eyes are hard aren’t they? Lol.
You look more severe with this… like a tough schoolteacher somehow…
Author
Lol, thank you? I think that’s a compliment or is it not?
You are so great at makeup my dear! The photo with the lines for contouring is really helpful, thank you so much for sharing with us! And happy 2017 🙂
Stella
http://www.stellaasteria.com
Author
You’re welcome! So glad you like it!
Great, now I know how to blend!
Author
Thanks!
This is such a beautiful post, you look so beautiful! I liked to know the products you wear and I loved the lipstick and highlighter, both by Illamasqua. I don’t use brow products and I have this Benefit mascara, though I wear another one. I used to try mascaras for a while, that’s why I have it 🙂 Loved the eye shadow in the close up and I started wearing makeup when I was 19, but it was some time ago 🙂 Now I only wear it a few days a week, and try to have a natural look, but for photos and a party, of course I do the full procedure. Your makeup looks really great! Hope you have a very nice day!
DenisesPlanet.com
Author
Thank you, Denise! Do you use the Benefit you have even though you have another one? I did find Mally to have a nice mascara too, but I love this one the most. The eye shadow though is gorgeous, I definitely recommend it!
Thanks so much for sharing your beauty routine! I have never heard of IIllamasqua so I need to check it out. Love the packaging and you look beautiful!
http://www.kathrineeldridge.com
Author
I’m in love with their products so much!
loving hearing your makeup routine.
http://www.amysfashionblog.com/blog-home/
Author
Thank you, Amy!
You look beautiful in this make-up 🙂
Author
Thank you 🙂
Really nice makeup, I like it !
http://clothespaper.com/
Author
Thank you!
Great make up!! I have a similar rutine, but more much simple because I’m very bad at make up hahaha. Your colour lipstick is amazing!! You look gorgeous!
Steal4Style.com
Author
Thank you so much!
Reall cool advice!
Have a great Thursday darling!
Hugs
Dili
New post: http://www.milanotime.net/the-baseball-hoodie-jacket/
Author
Thank you!
Love this look! That eyeshade is so pretty!
April xx
| APRIL ROSE PENGILLY |
Author
Thank you so much!
Love the lipstick shade! 🙂
LA VEINE
Author
Thank you 🙂
great products, Lorna..they look good on you..
http://jehanmohammad.blogspot.com/
Author
Thank you!
Your make-up looks stunning Lorna, and I love the way it gives you a polished look, without looking heavy or artificial. The end result is very flattering and adds a nice healthy glow and shimmer. I adore the eyeshadow especially, and the gold dusting it gives to your eye area.
I’m always scared of putting too much make-up on and using unflattering products. But it was lovely to read this post and get some inspiration for creating a natural yet flawless look. You look amazing! Thank you for sharing!
Lots of love Saba xx
http://www.trulymadlydeeplyfashion.blogspot.com
Author
Thank you so much, Saba! I’m so happy you really like the look and think it’s sort of natural as well, you should try it xx.
Nice make up! Amazing!
Author
Thank you!
Beautiful product.
Author
Thanks!
Kisses!
Author
Kisses!
So much lovely makeup! I haven’t tried most of these products but I want to 🙂 xx
Author
Thank you 🙂
Thanks for this Lorna it helps me a lot xx
Author
No problem!